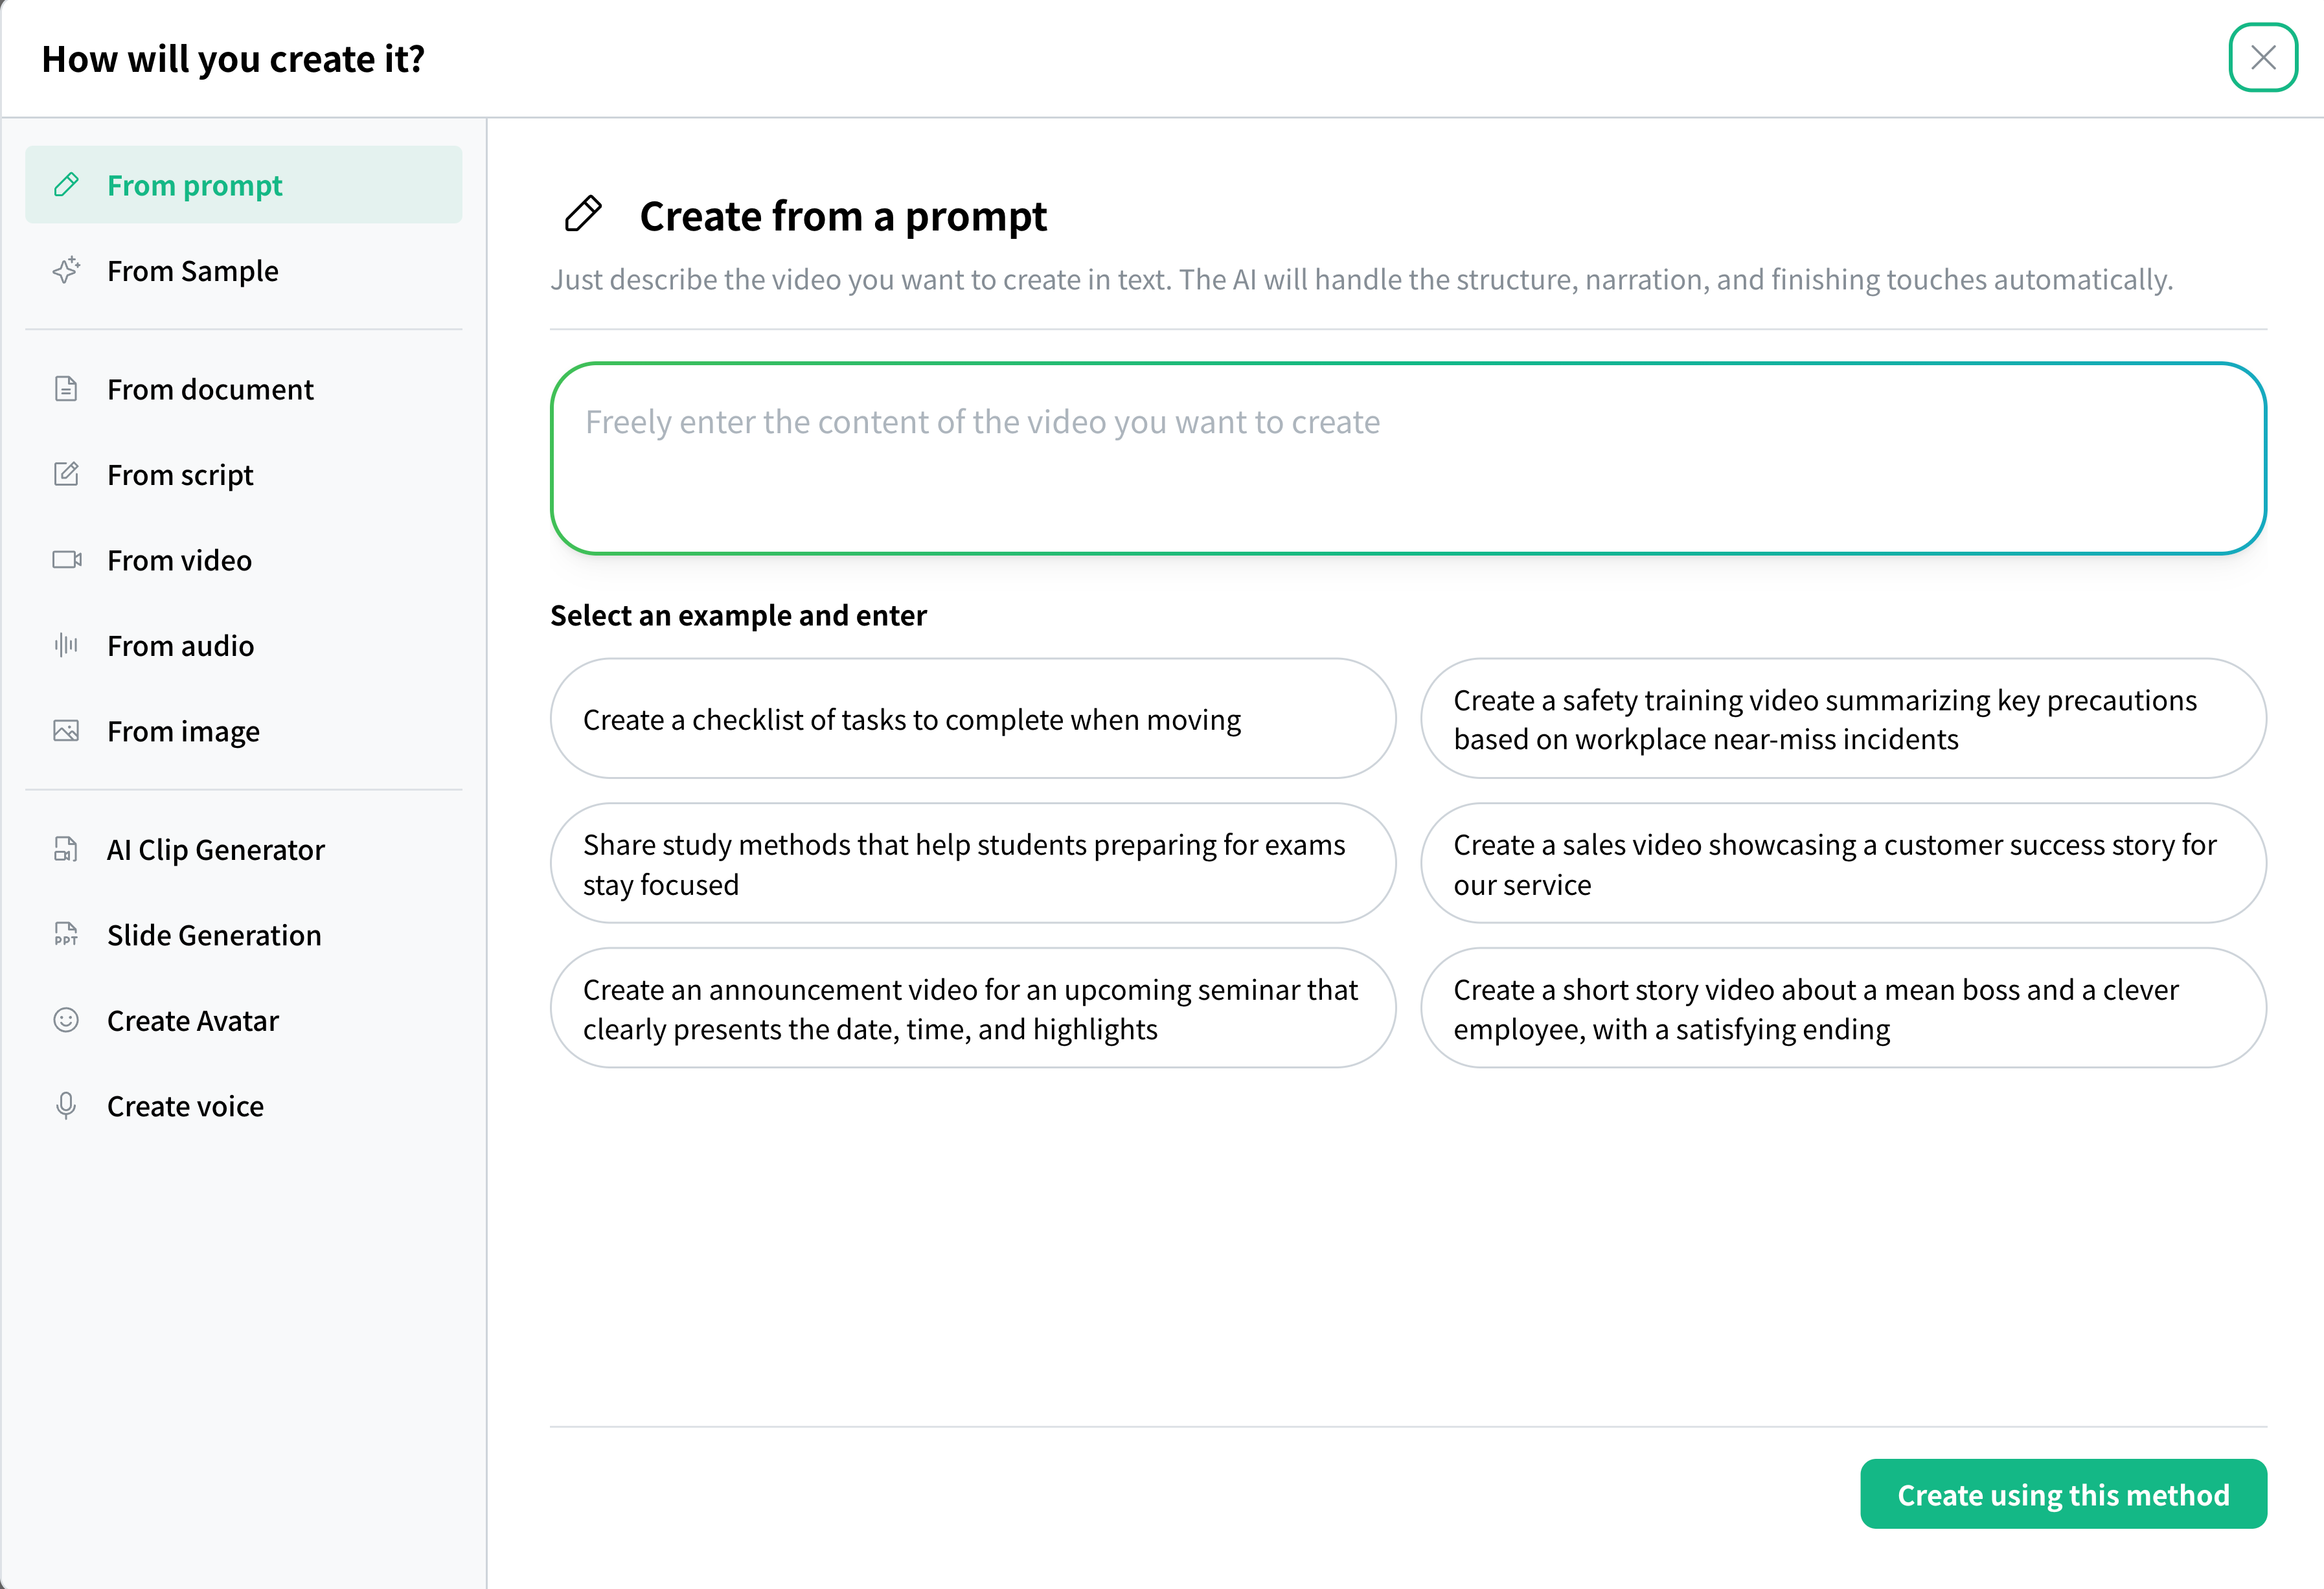
A summary of the video generation options you can choose from in NoLang. What kind of video can each one make?
Last updated
Quick reference for choosing by purpose
- As fast as possible Create from a prompt Just describe what you want to create. Start here if you are not sure.
- The script is already set Have it read your script as is Turns the script you prepared into narration word for word.
- I have documents Have NoLang present your PDF / PPTX documents Just upload your documents and you get an explainer video.
- I have audio or video Transcribe it and add subtitles and an avatar Turn audio or video you already have into a video with subtitles.
- I want to choose from a finished image Create from a sample Choose an official sample and start creating in a similar style.
- Lock in your settings and produce at scale Create from saved settings Save video settings you have tuned in detail and reuse them again and again.
- I want to make it better Edit the generated video directly You can make pinpoint fixes to subtitles, images, background music, and more in the editor.
- I want slides Generate slides It generates the slide deck itself rather than a video.
1. Create from writing | Prompt or script
From Prompt
Just describe the video you want in words, and AI handles everything from the structure and narration through to the finishing touches. You can type it directly into the input field on Home. The steps are explained in detail on the next page.
✓ Related How to generate a video This page explains the basic flow, from entering a prompt through generating, reviewing, and regenerating.From Script
If you already have the script you want read aloud, choose “From Script” to turn your script into narration word for word. You can choose between a single character (narration) and multiple characters (dialogue).
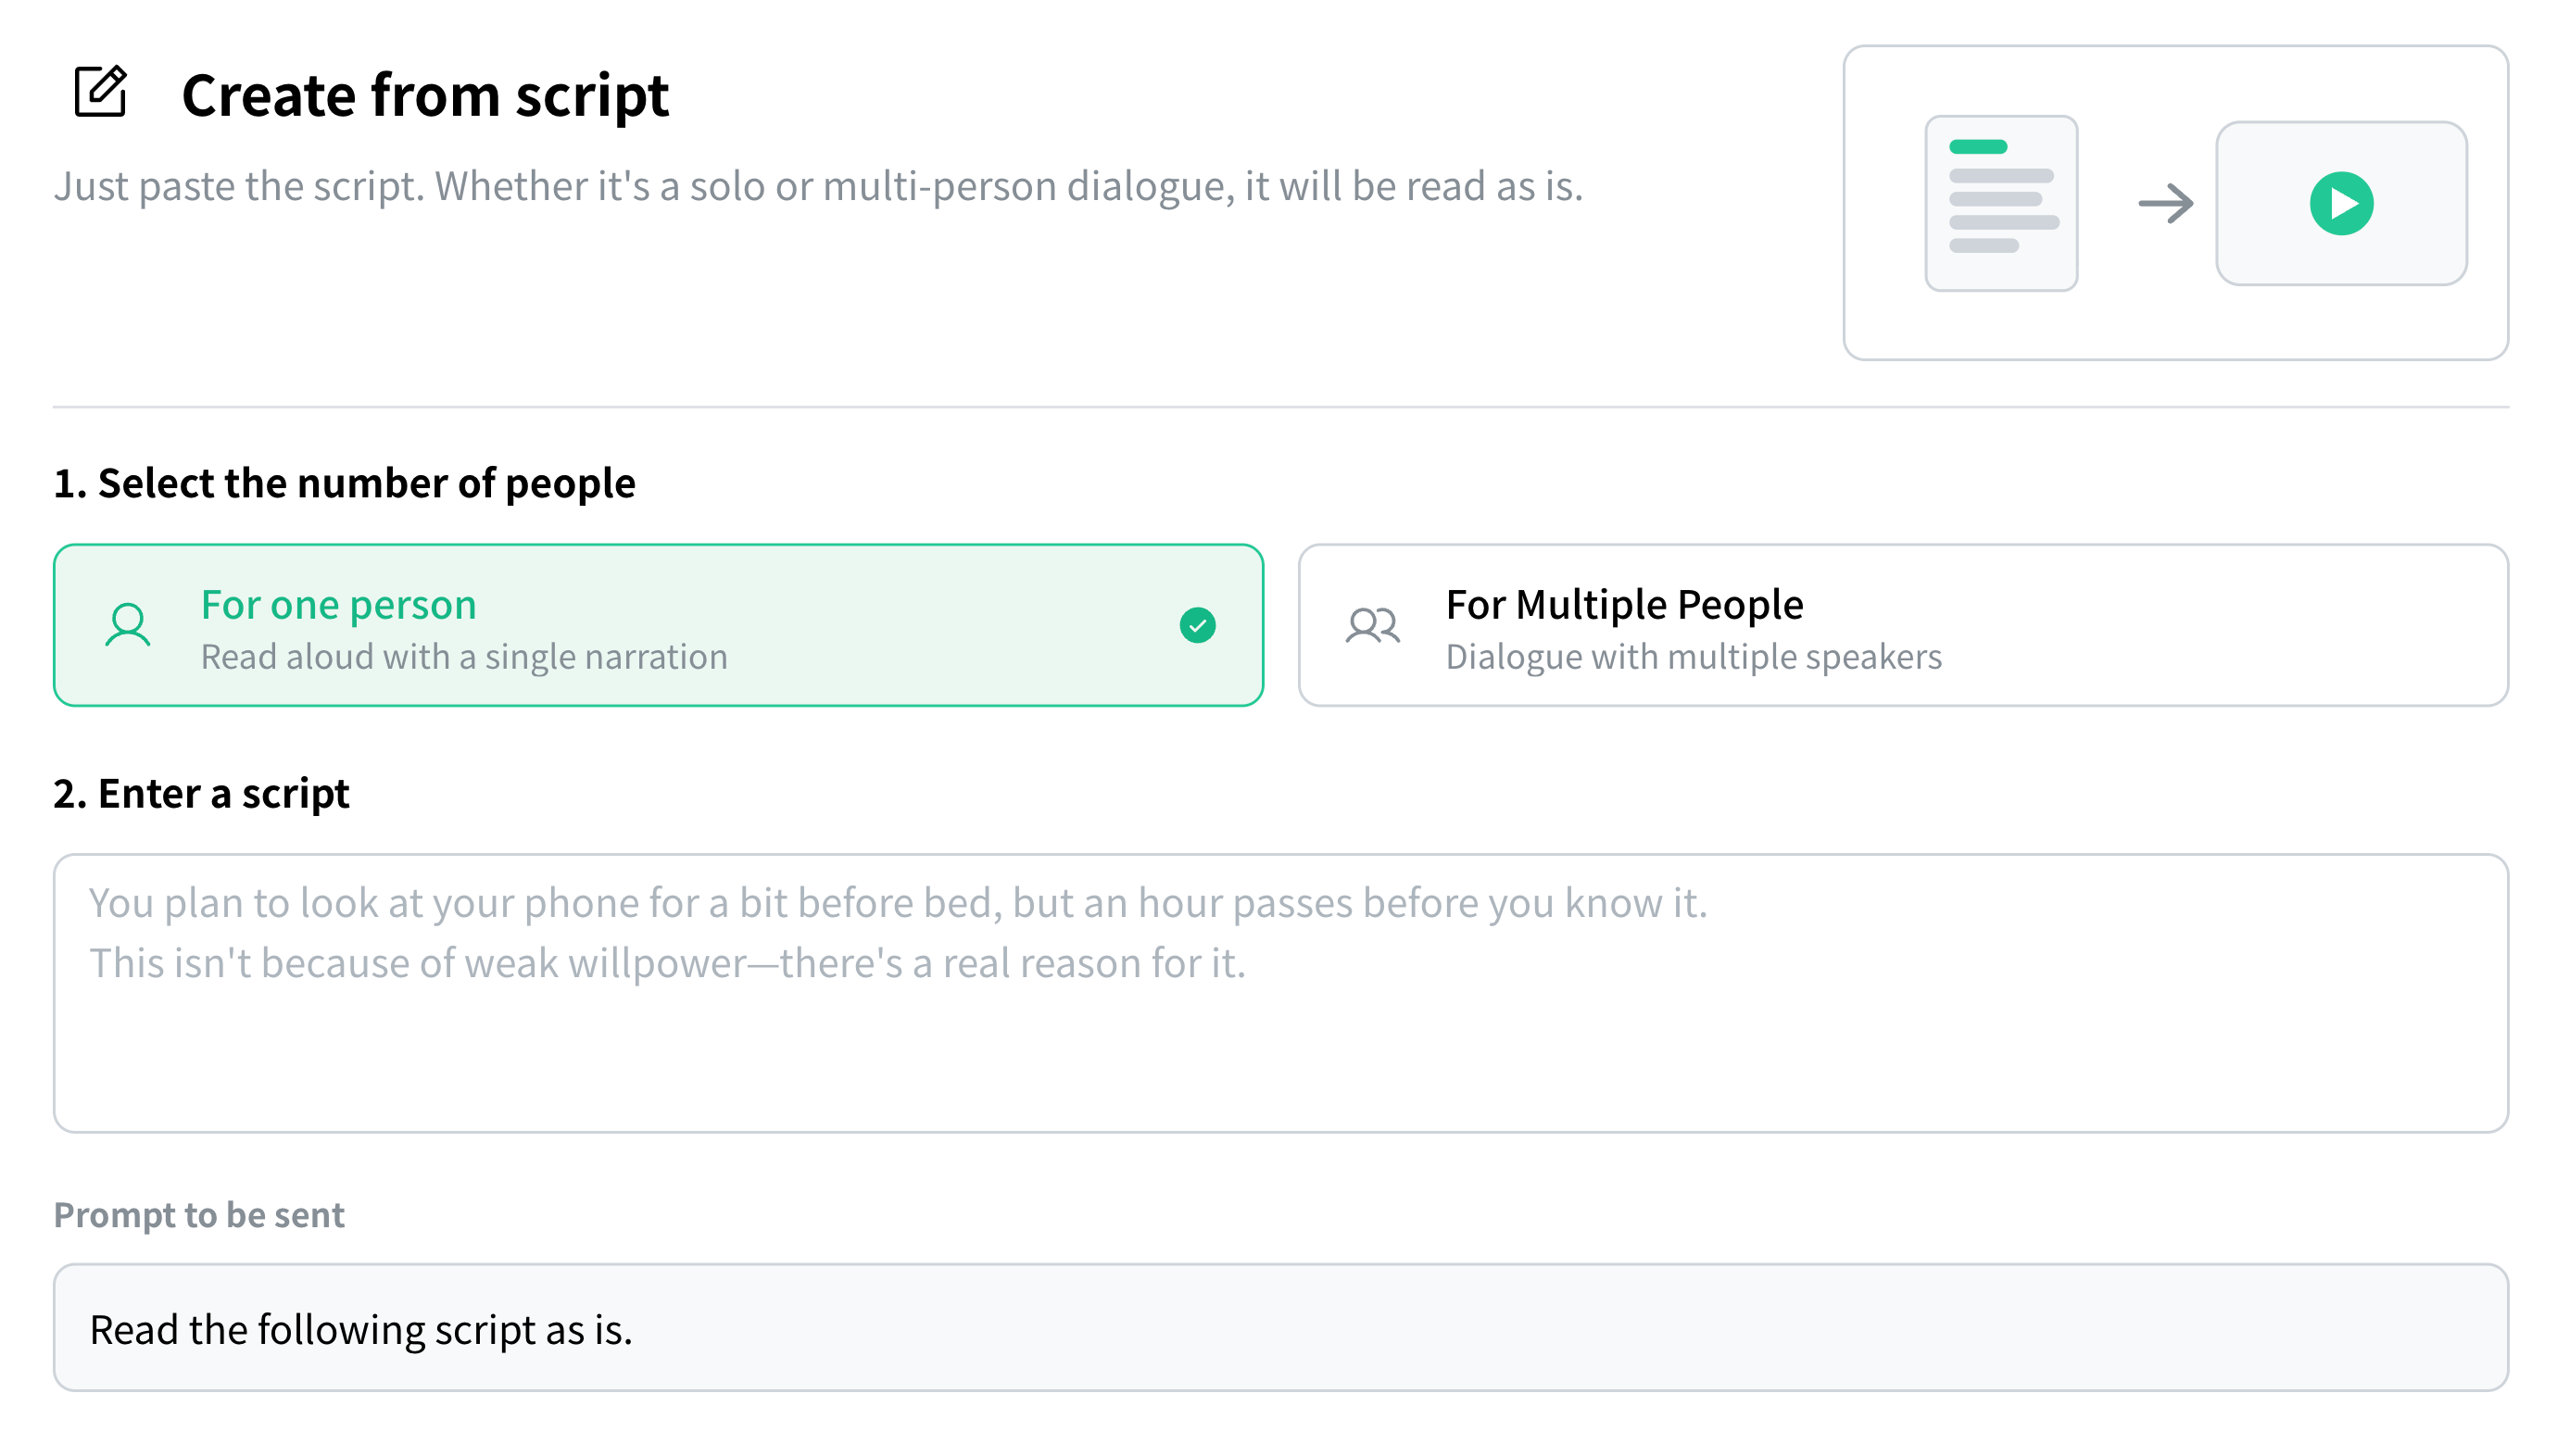
For a dialogue between several people, we recommend writing the script in the following format.
A: Hey, how is generative AI doing these days?B: It is evolving fast. It can create images and videos, and conversations feel far more natural now.A: Really, that much? Any interesting ways to use it?B: You can have it plan a whole trip for you, or even write a novel.2. Create from a file | Documents, audio, video, images
From Documents (PDF / PPTX)
Upload a PDF or PowerPoint file and it becomes an explainer video with narration. You can choose how it is explained.
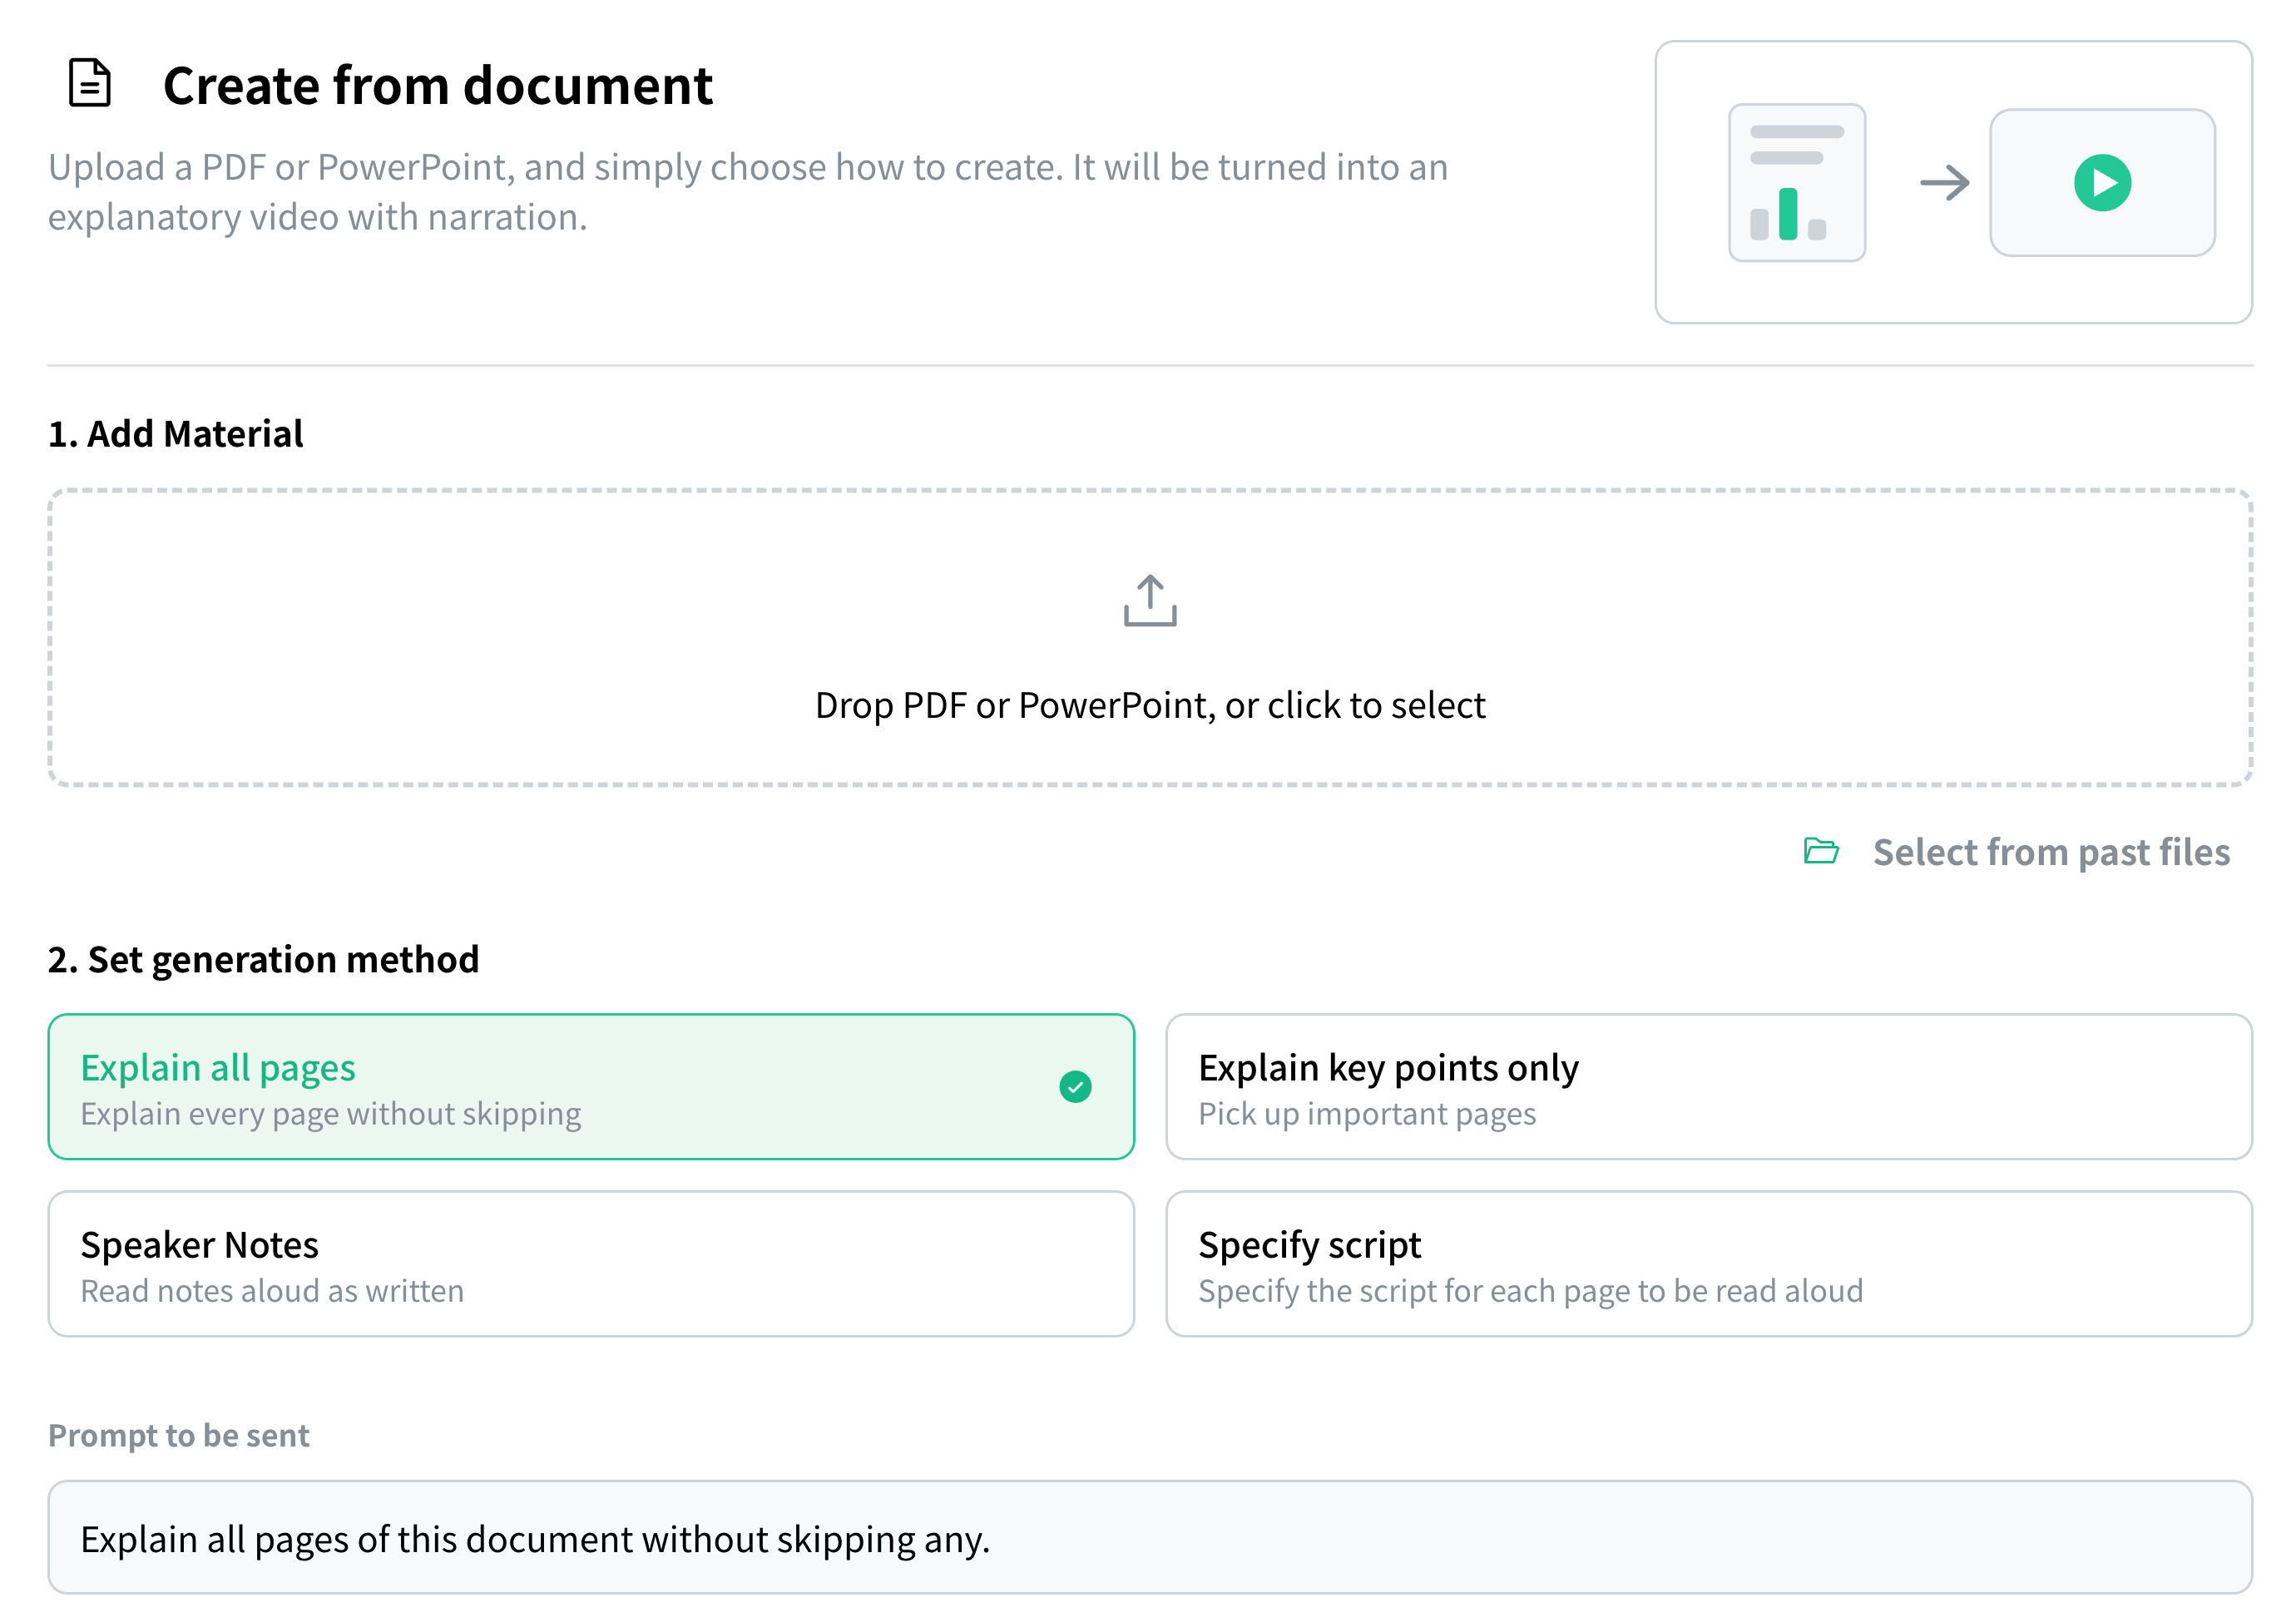
If your PowerPoint has speaker notes, you can use their content as the input for the video. When a document has a reading script prepared in the notes, the explainer video matches your intent far better than relying on the text on the slides alone.
From Audio
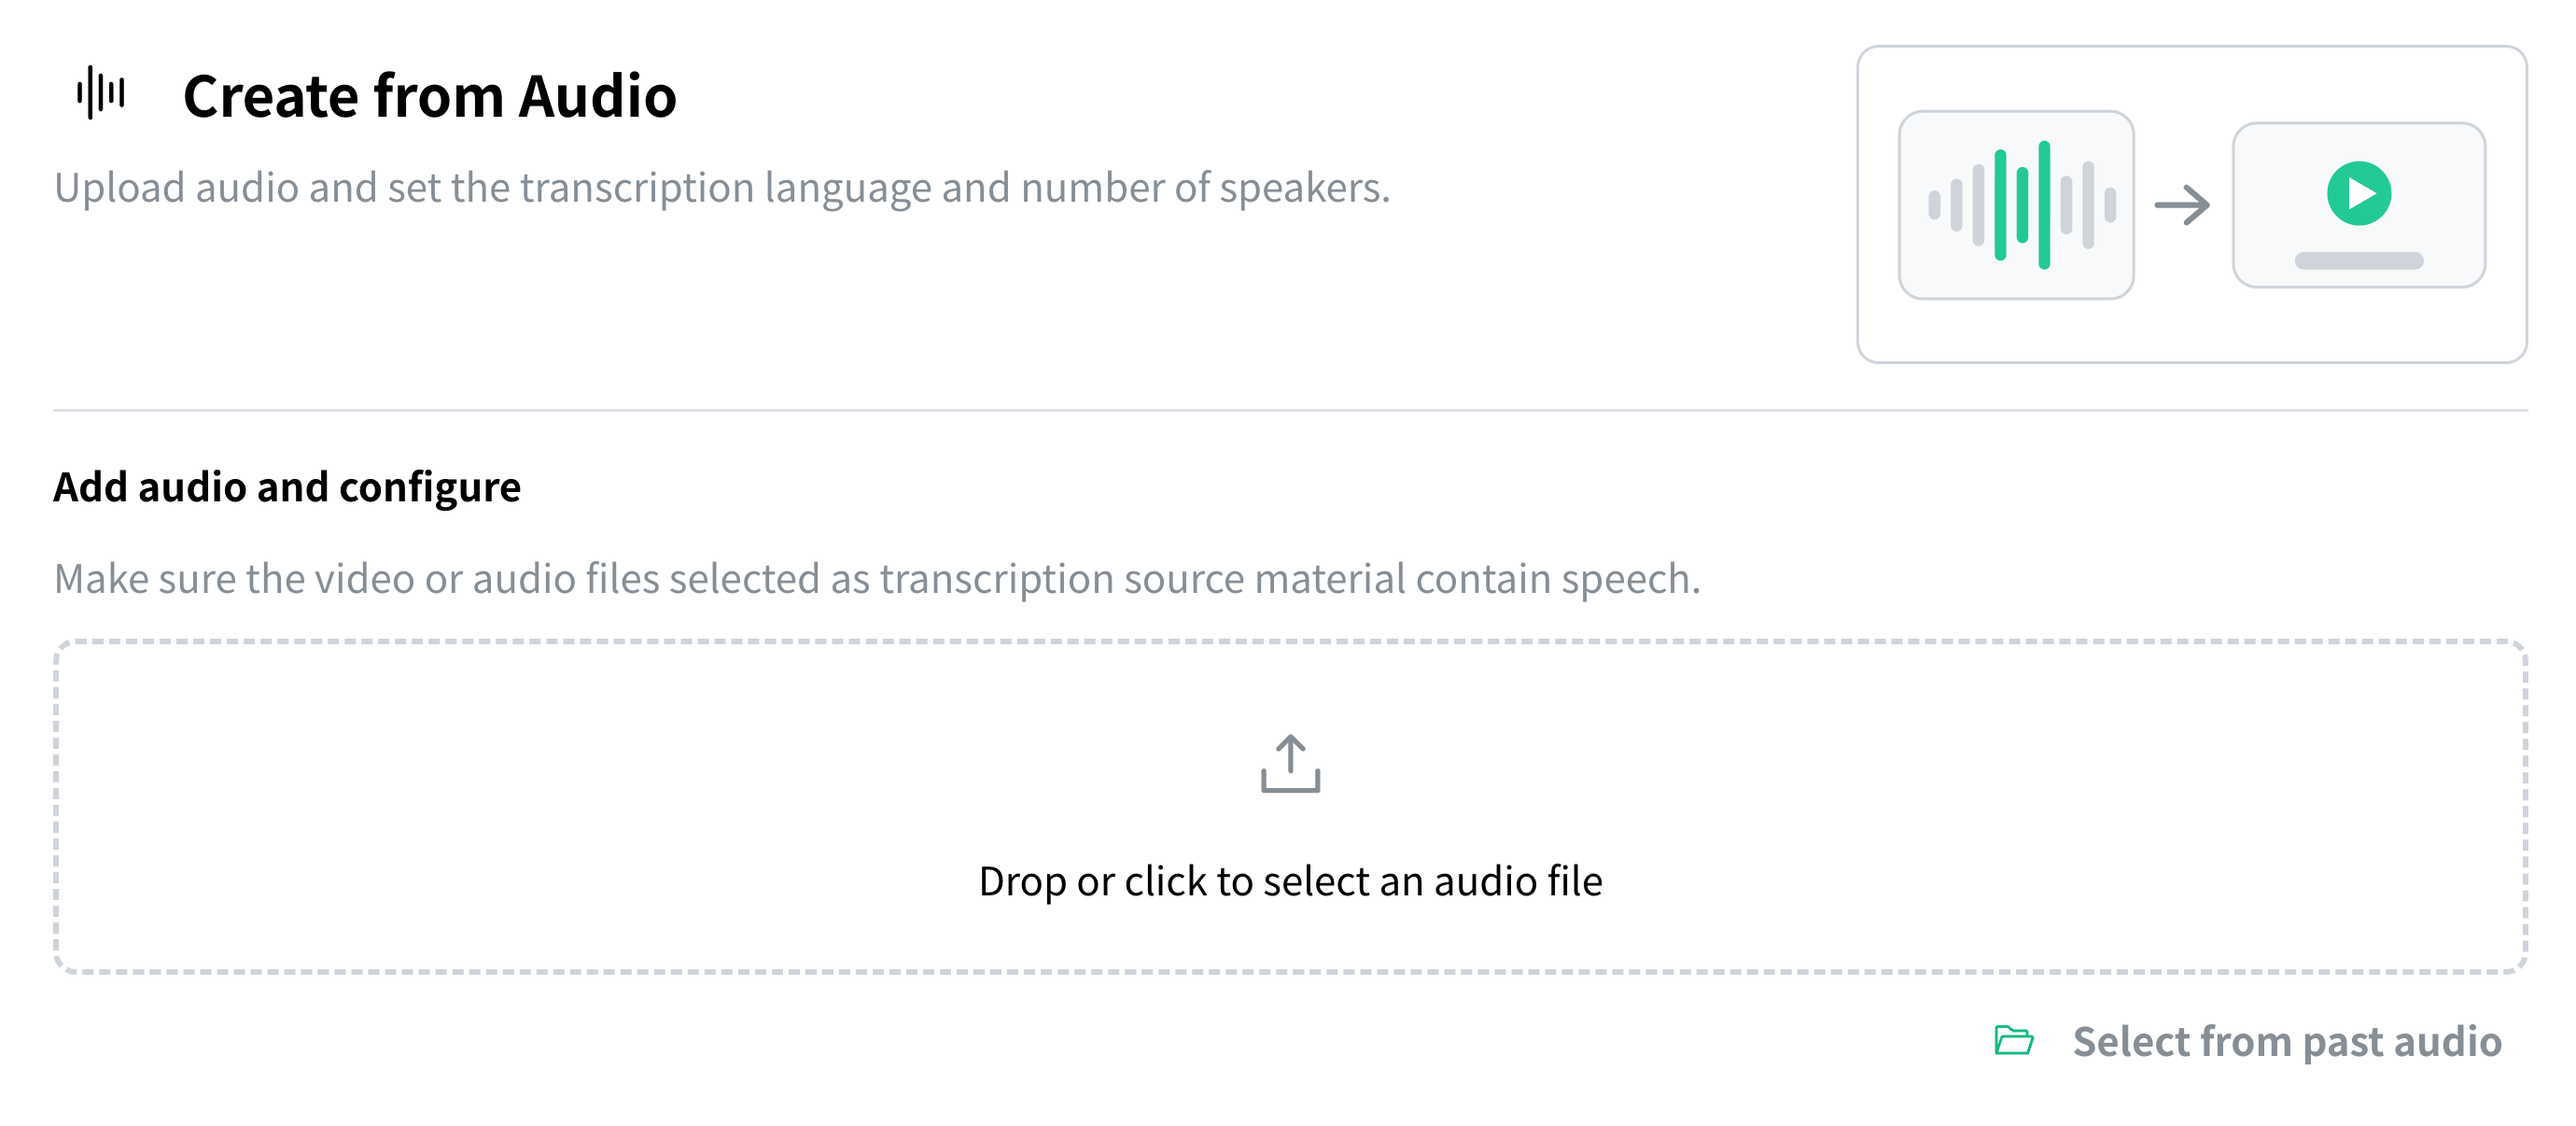
You can transcribe uploaded audio and generate a video with subtitles. You can set the transcription language and the number of speakers, and add elements such as avatars and images to match the audio. Any audio that can be transcribed, such as narration or a podcast, will work. You can also cut out part of a long recording to create a clip video.
From Video
Just as with generation from audio, you can transcribe an uploaded video to add subtitles, or add other elements. Handy when you already have a video and want to add subtitles, an avatar or sound effects. You can also cut out part of a long video to make a clip.
From Image
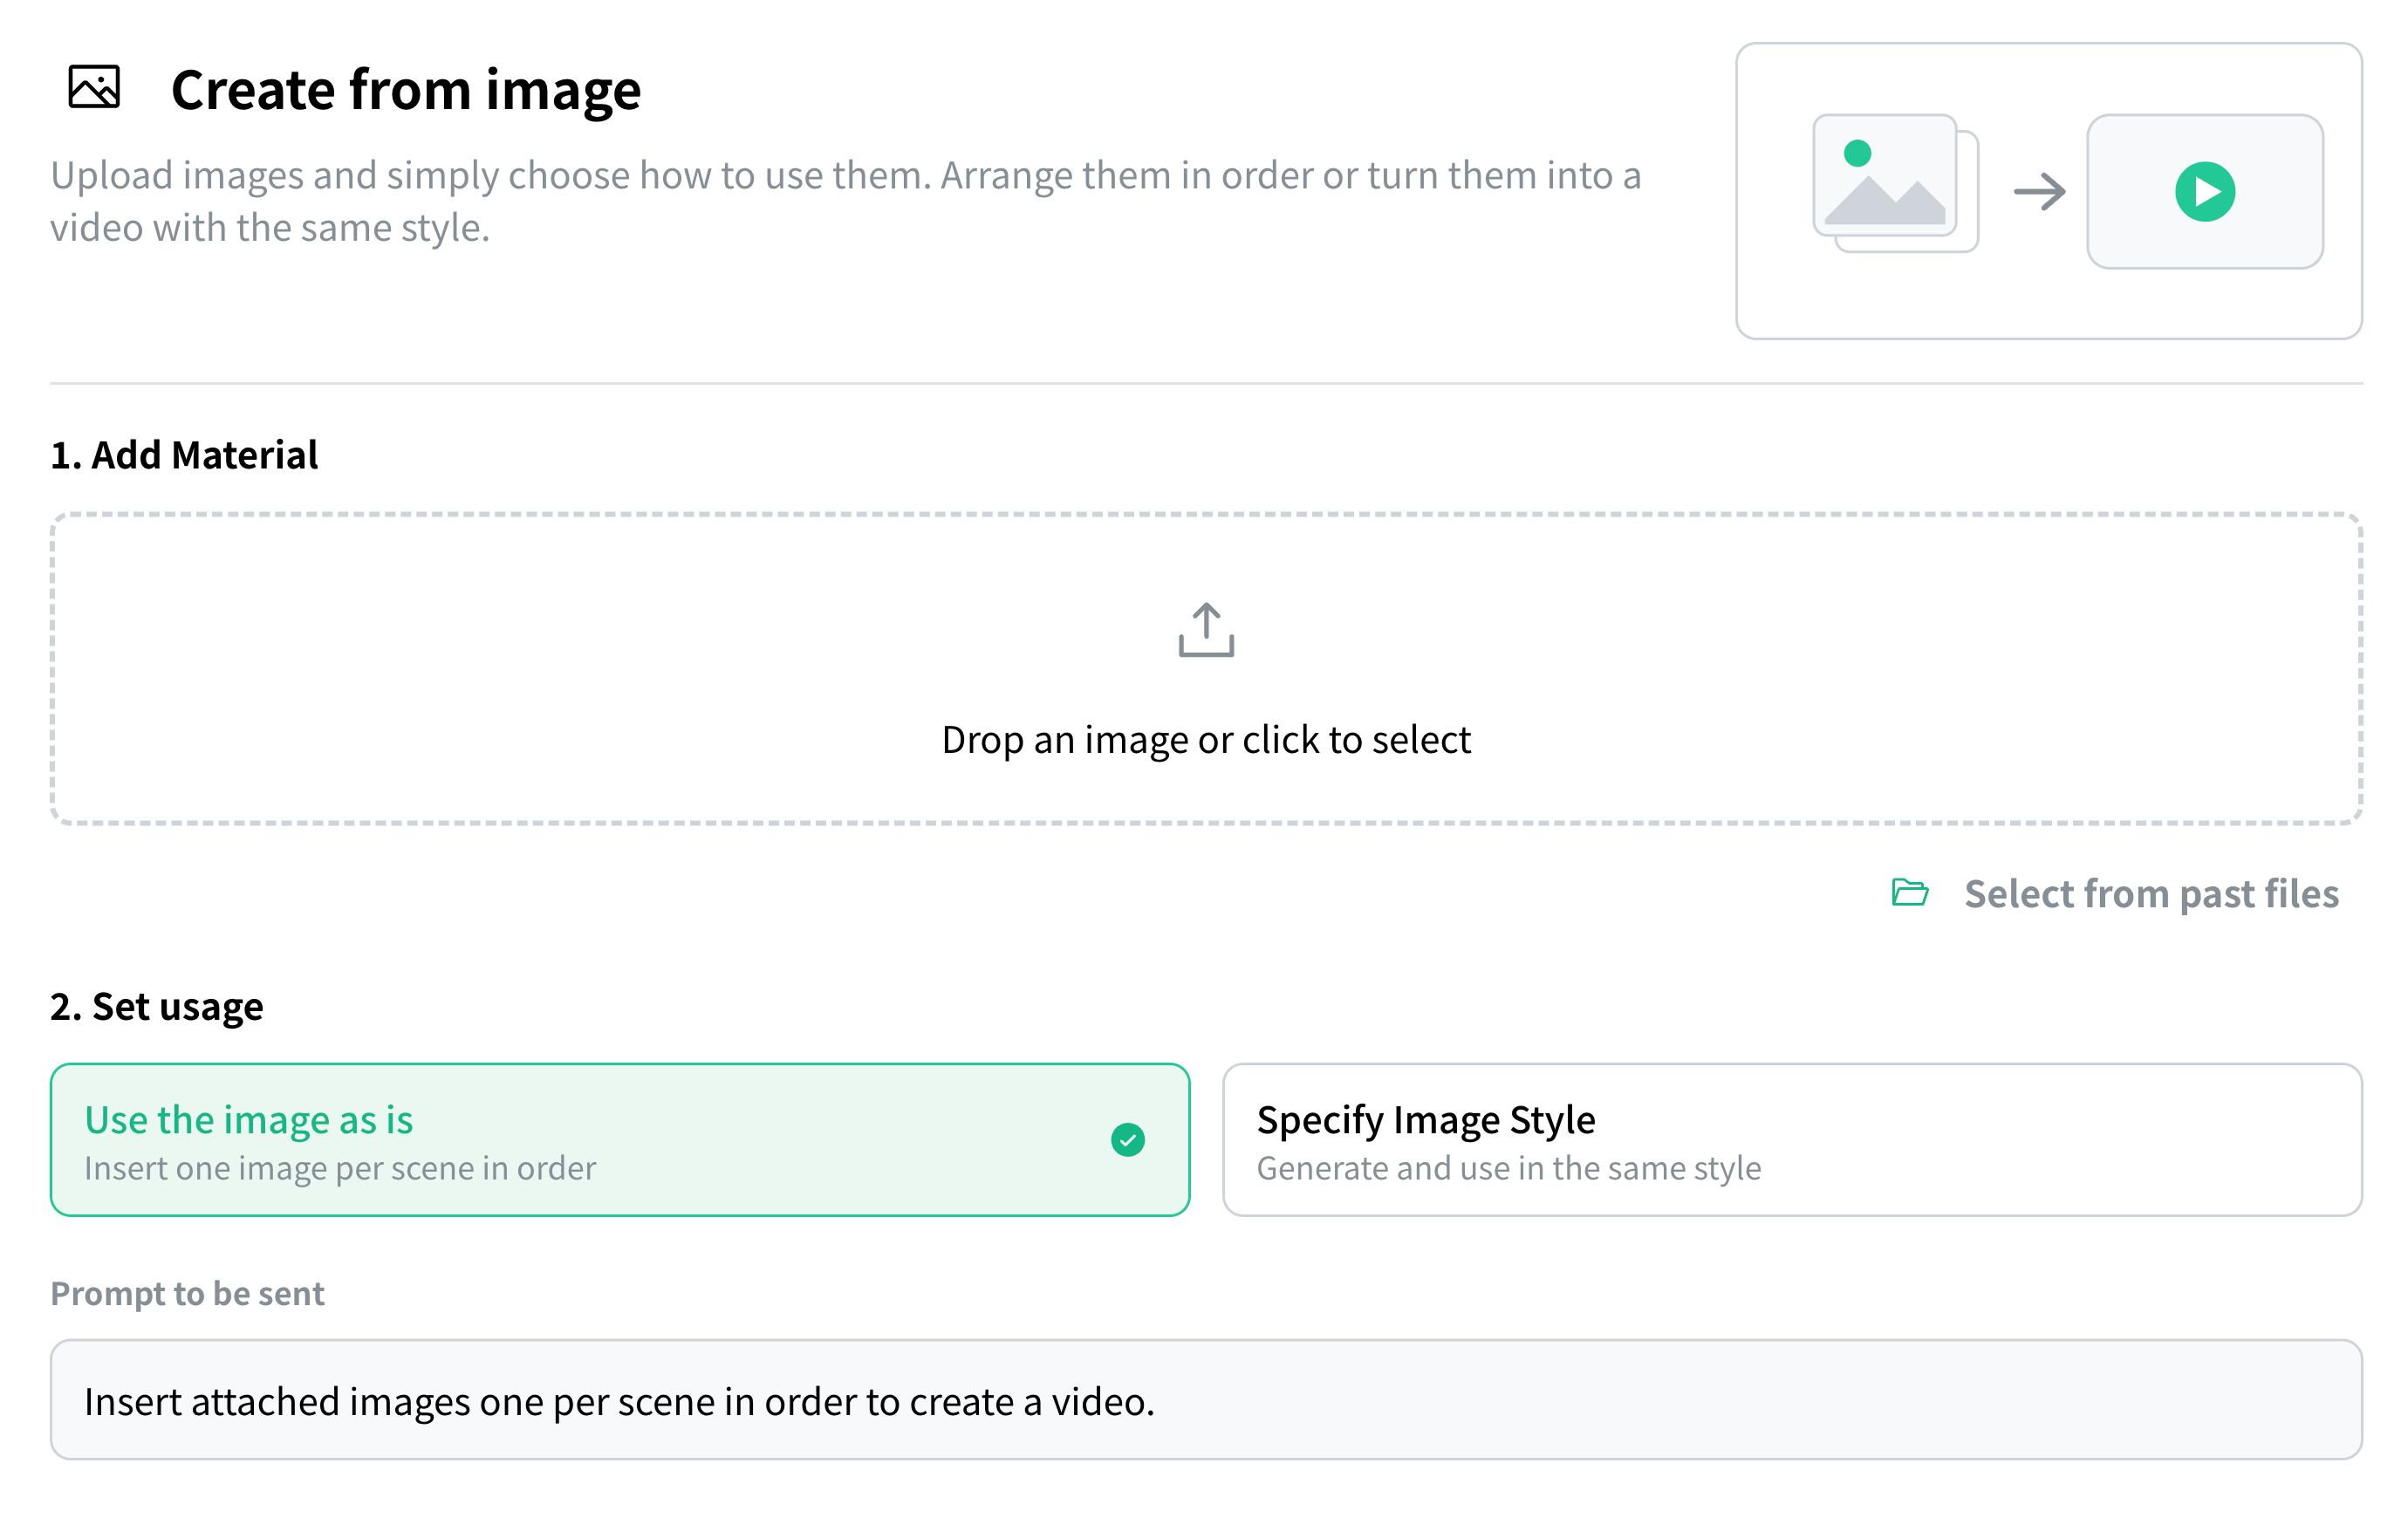
Upload images, choose how you want to use them, and you have a video. You can pick between inserting the images one per scene in order and generating and using images in the same style.
3. Reusing the videos and settings you have made
Create from Samples or Your Own Videos
You can use an official sample or one of your own generated videos as a “reference video” to create a video with a similar look and structure. See here for details.
✓ Related How to create videos from your own videos or from templates This page explains how to use an official sample or one of your own generated videos as a reference video to create a video with a similar look and structure.Create from saved settings
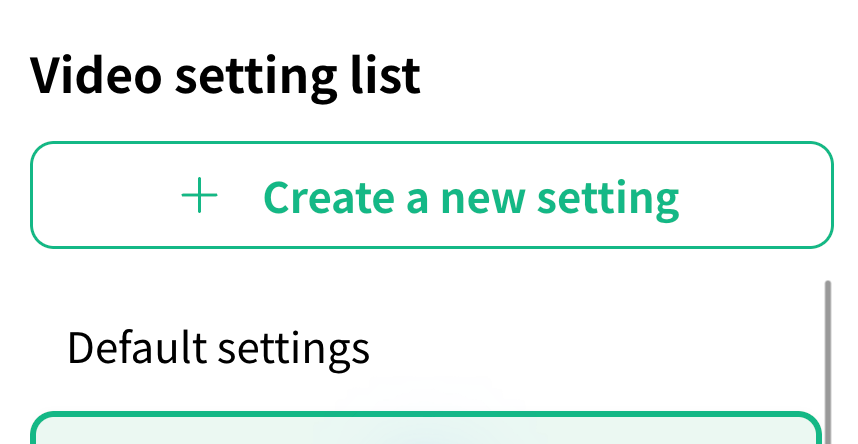
You can fine-tune and save video settings such as aspect ratio, language, background music, voice, avatar, and background, then generate again and again with the same settings. Create a setting from Saved settings -> Create a new setting in the sidebar, edit each item in the panel on the right, then enter your content in the generation input field and generate.