
How to create your own avatar
Last updated
1. Three ways to create an avatar
Method ①: Turn a photo into a character and have it speak
Converts an uploaded photo of a real person into a character. You can use it at video generation time with no additional credits.
Method ②: 2D animation
The character you uploaded speaks along with the audio. Only 2D illustrations can be animated, but in exchange video generation is fast.
Method ③: Real animation
The character you uploaded speaks more realistically. You can animate a photo of a real person as well as an illustration-style character. Note that video generation takes somewhat longer.
2. Steps for "Turn a photo into a character"
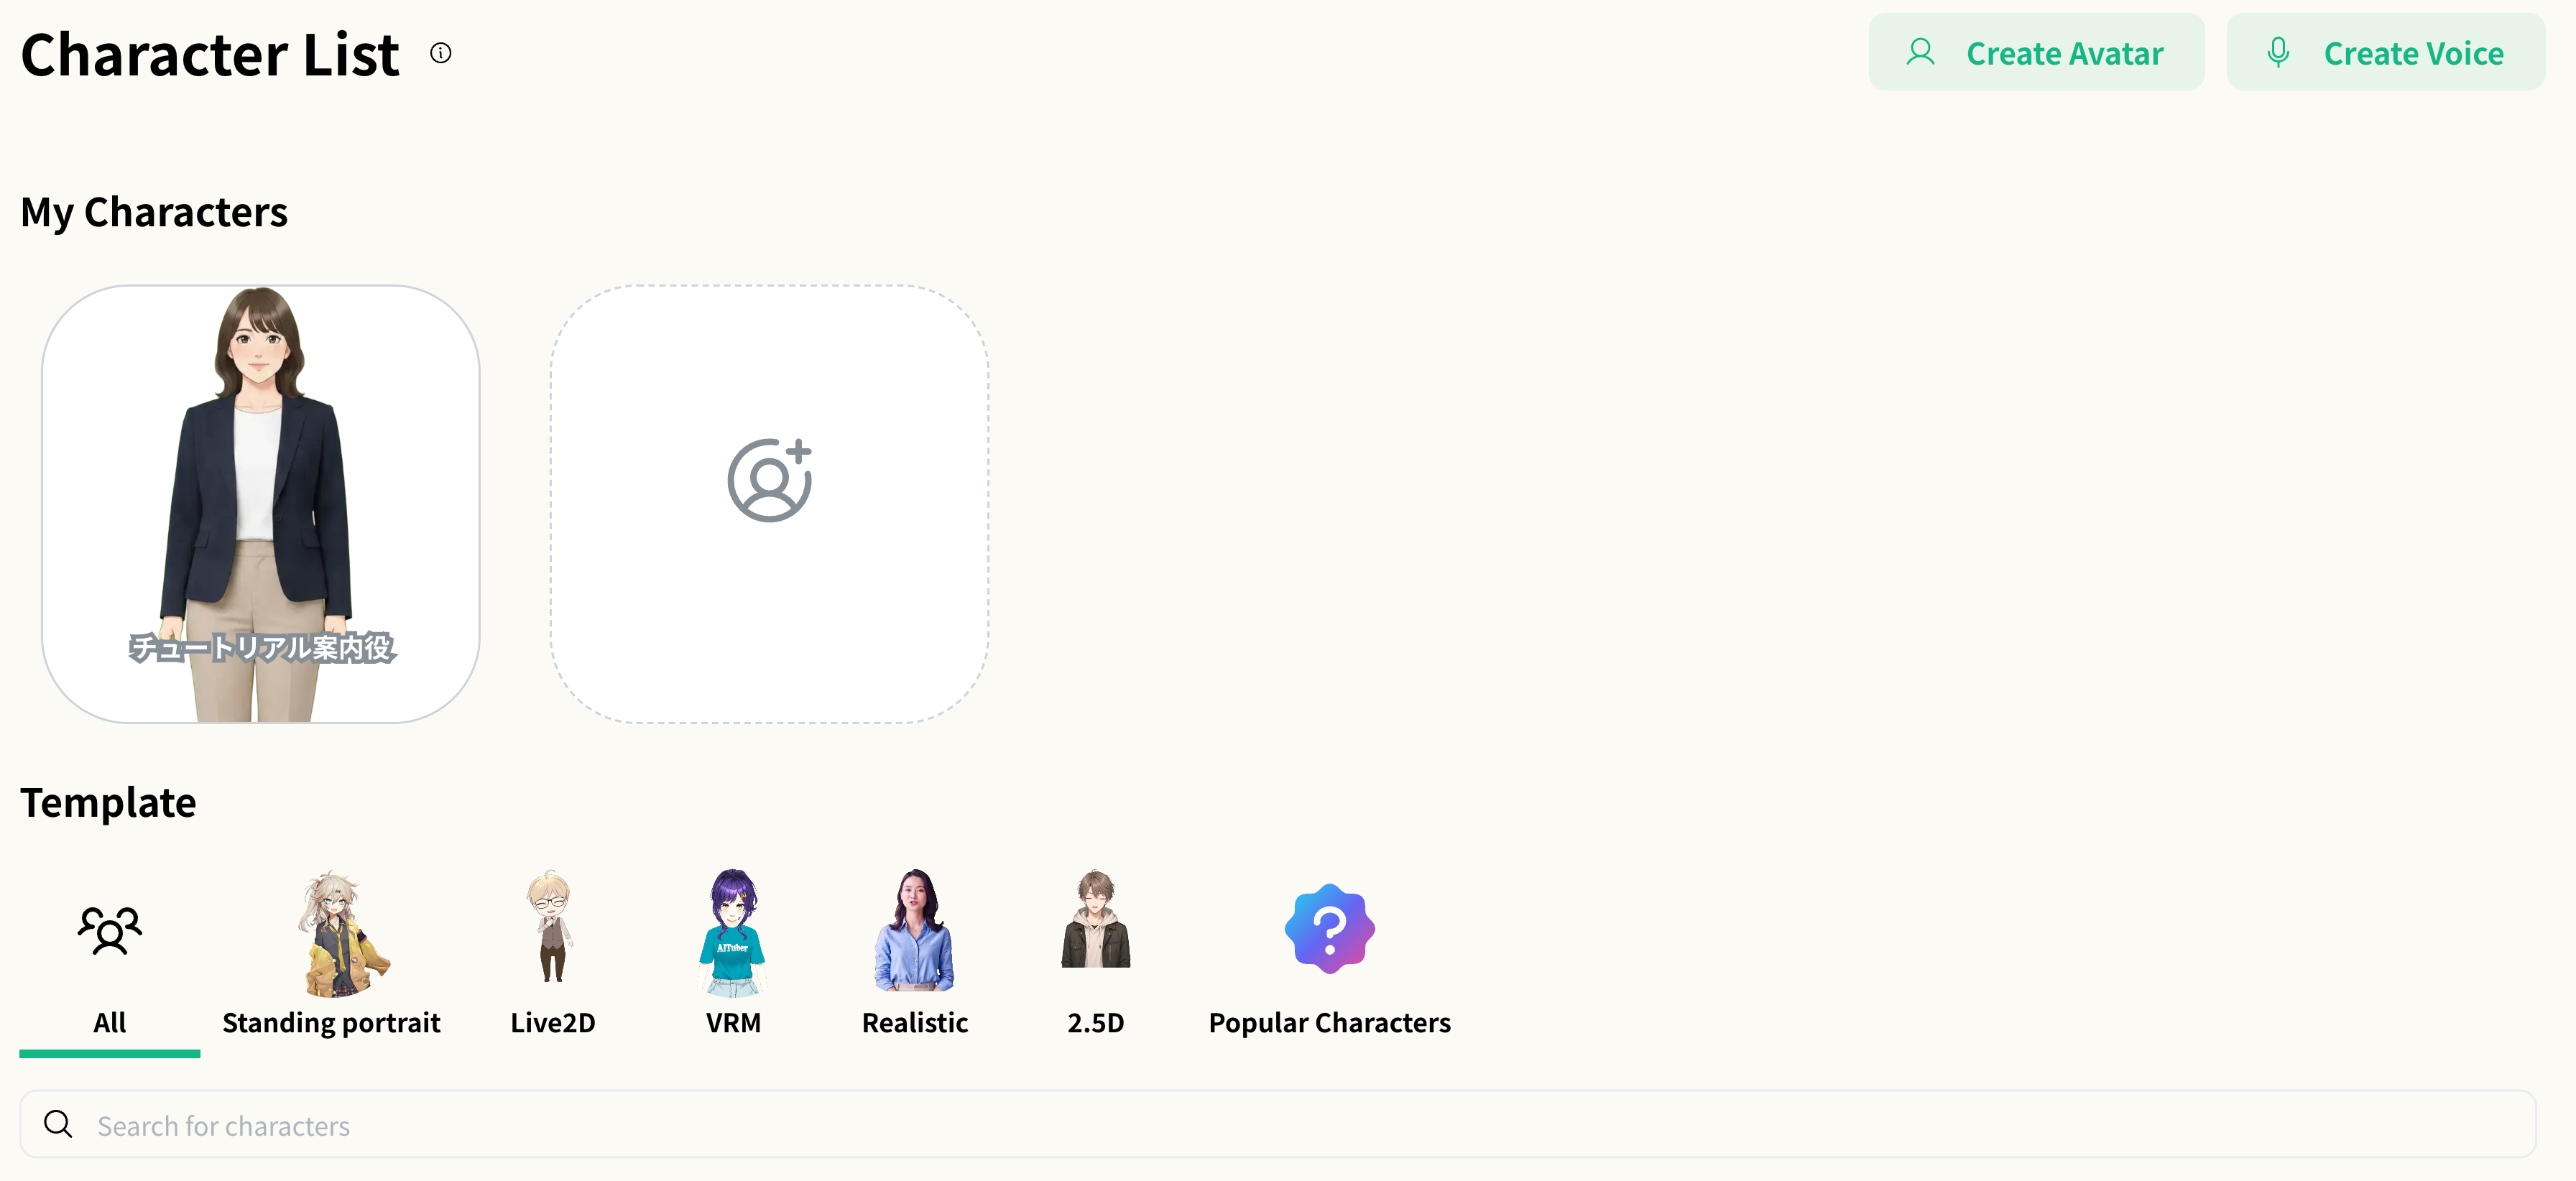
- Select “Create Character” from the sidebar
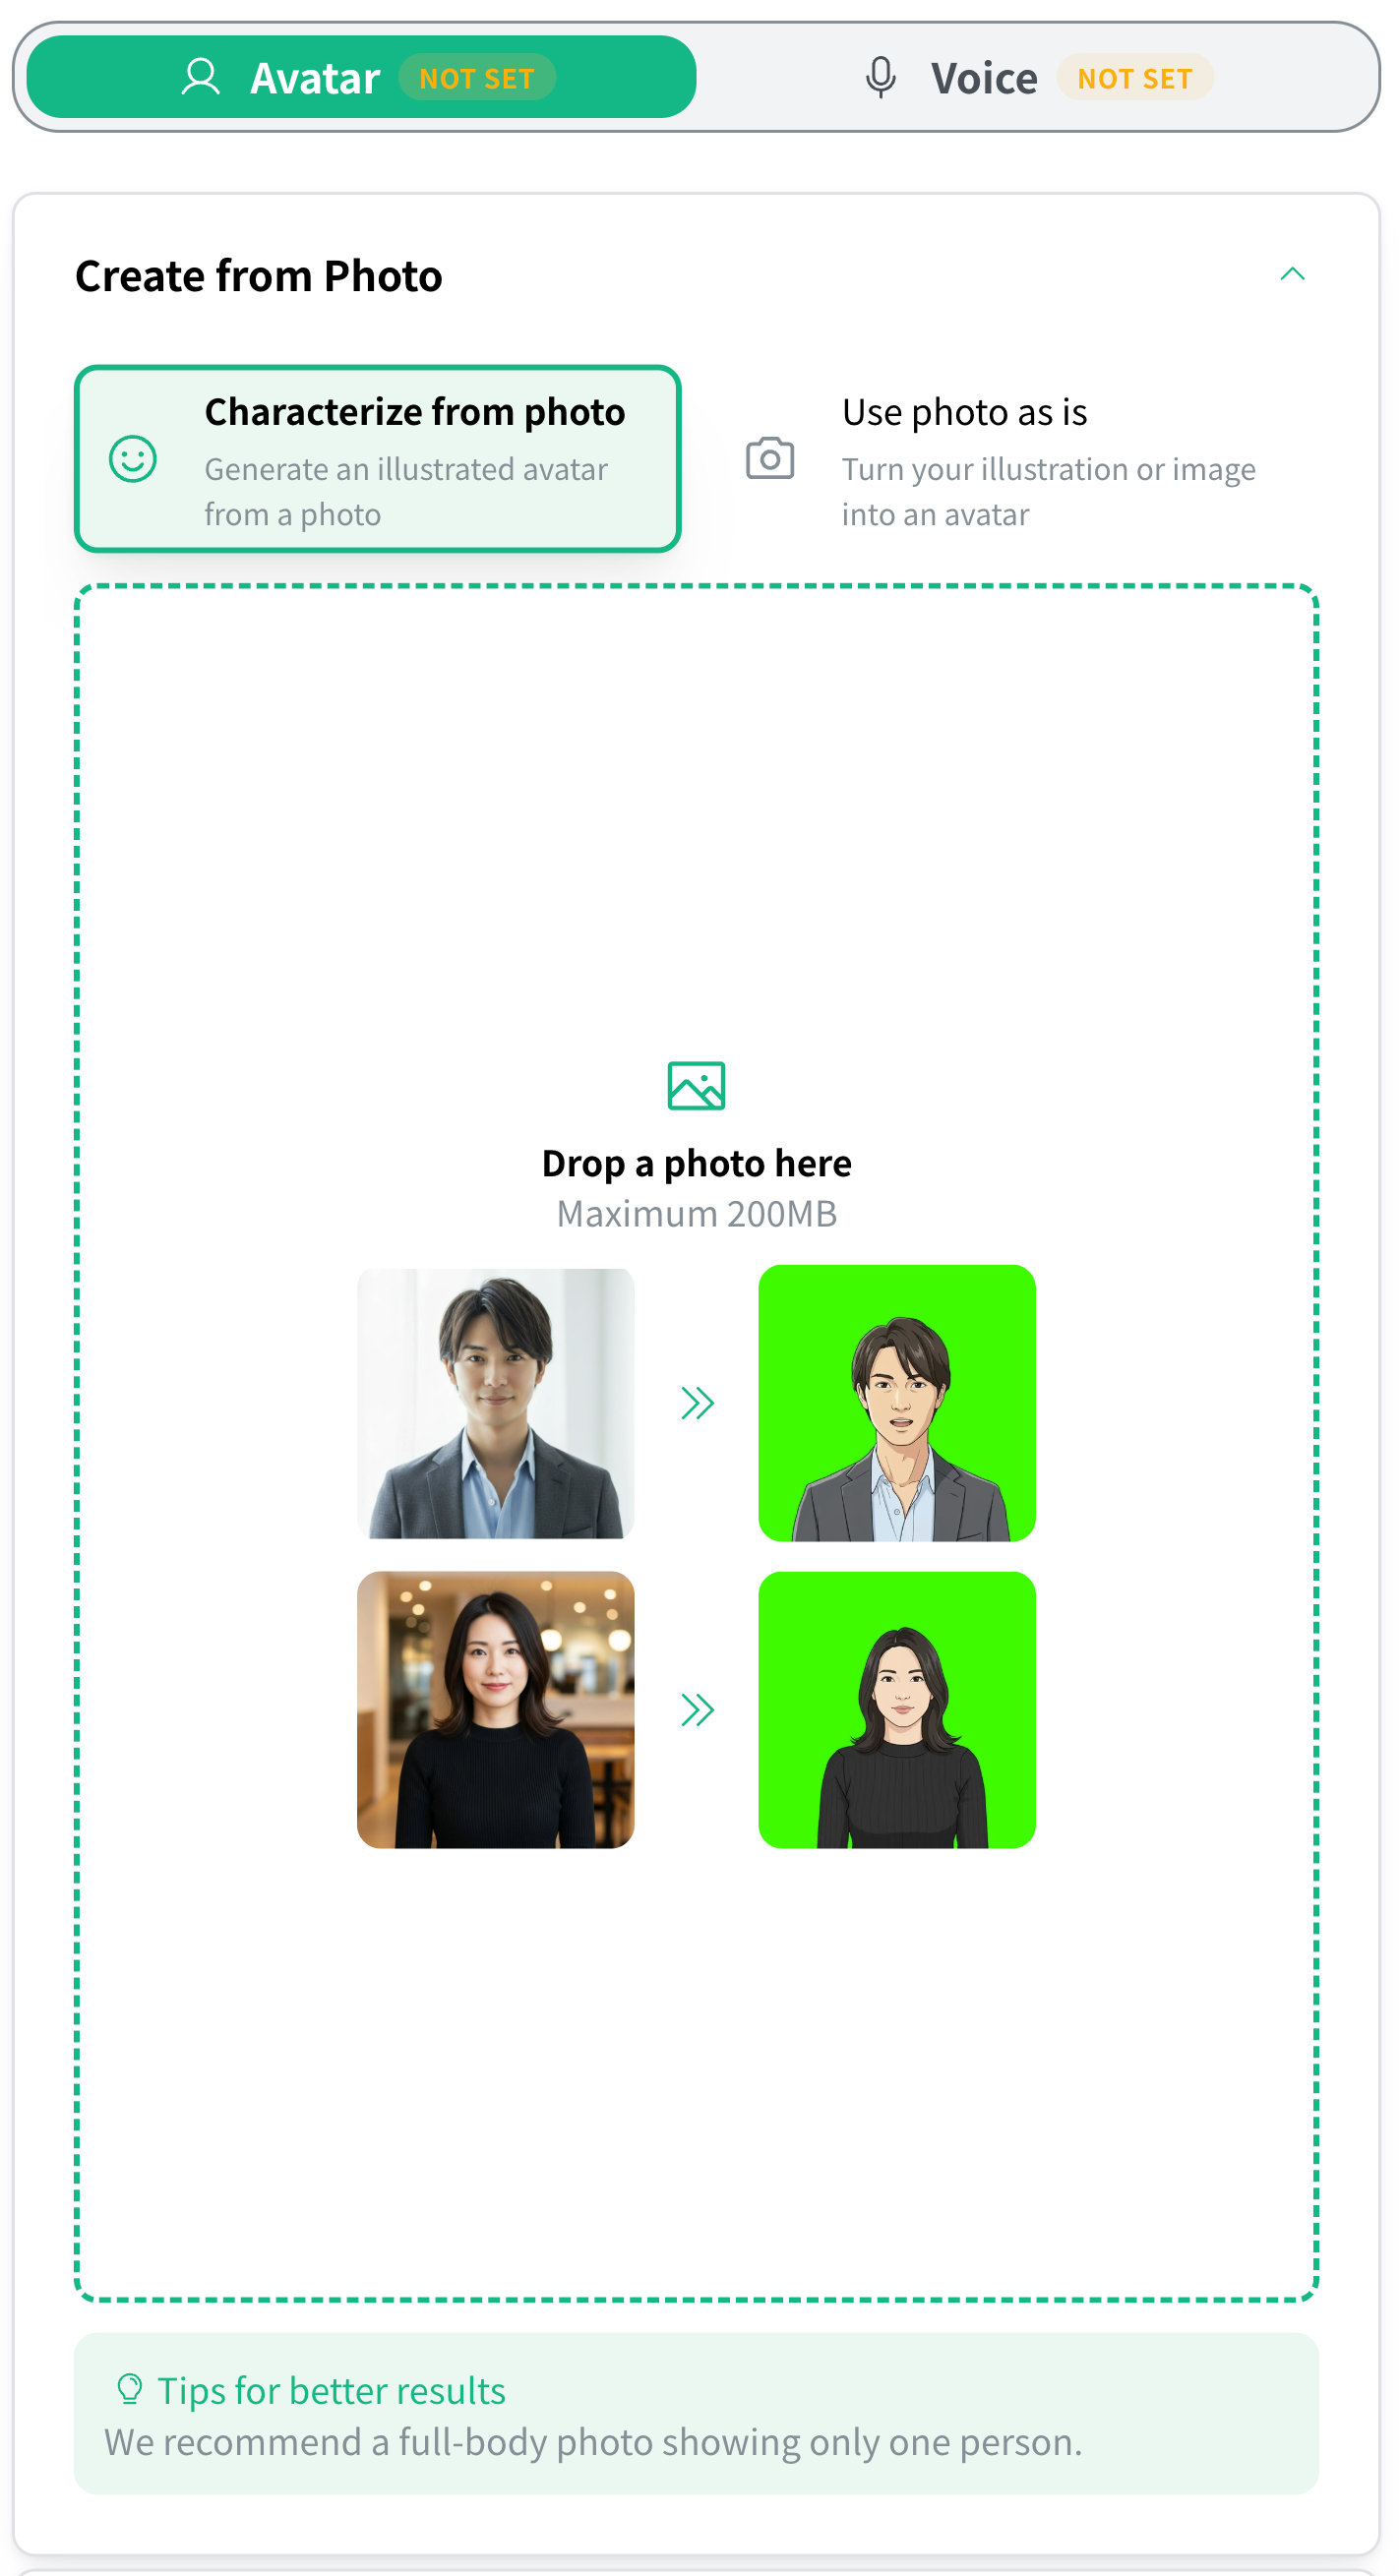
- Select “Create from Photo” → “Characterize from photo” and upload an image
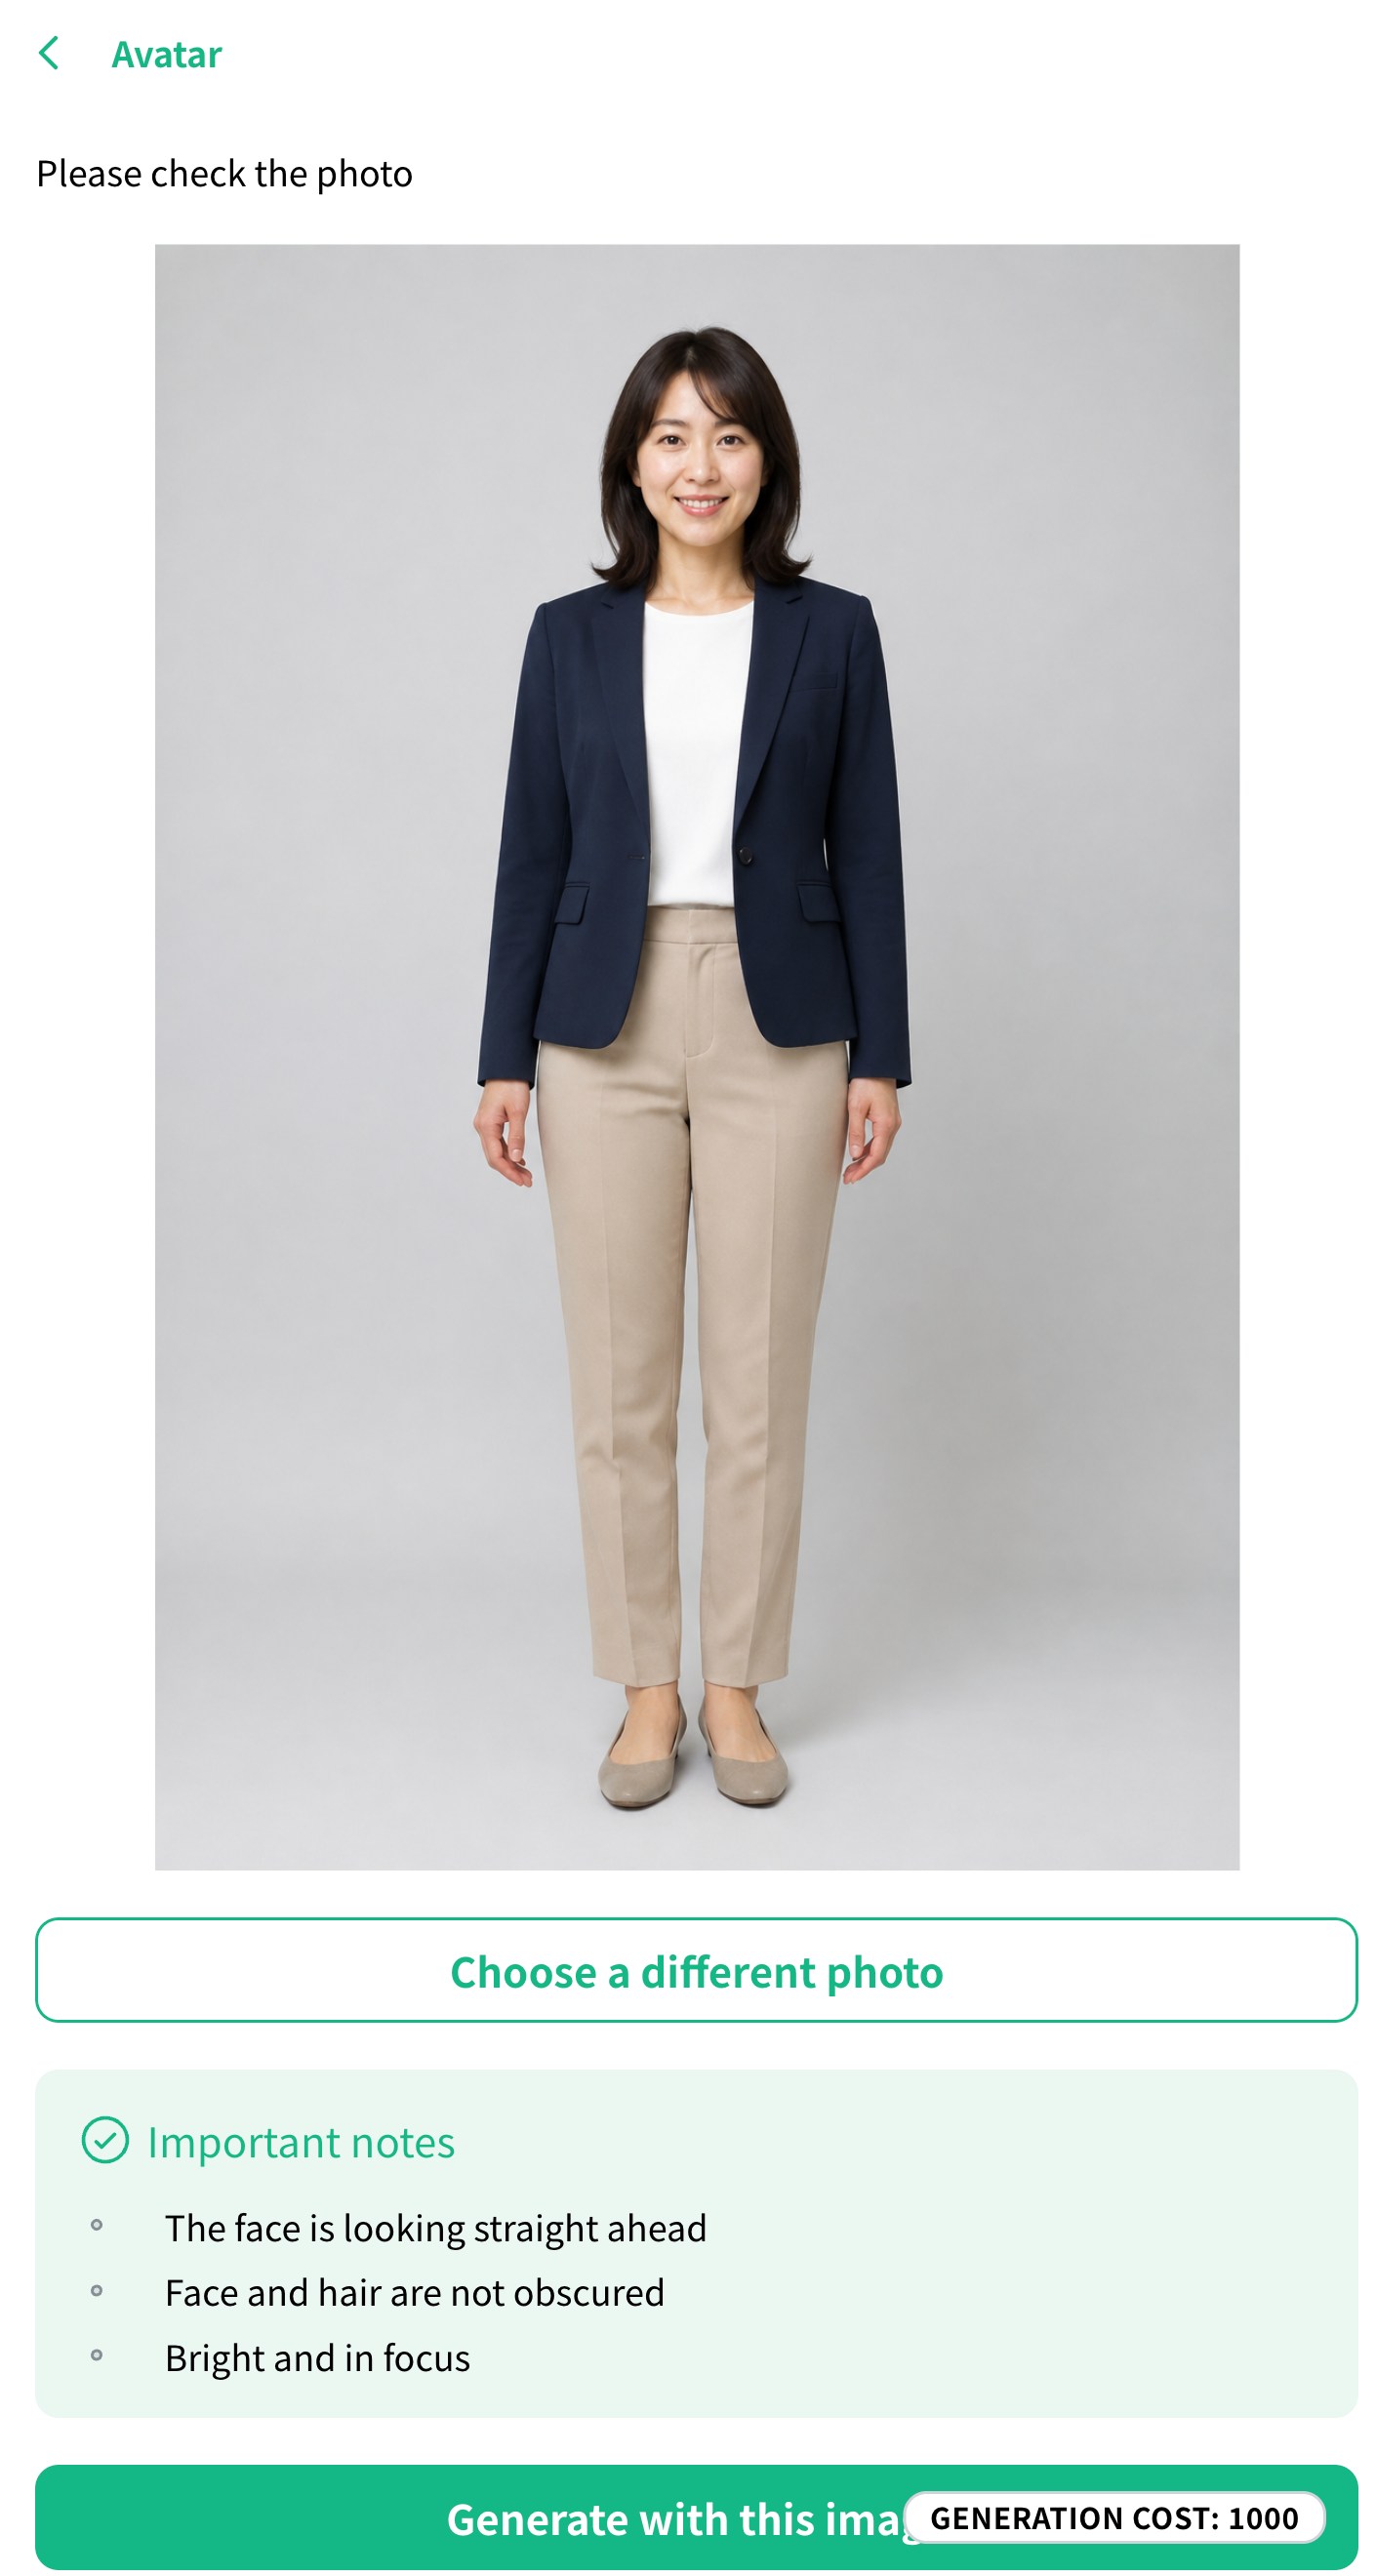
- Review the uploaded photo and generate
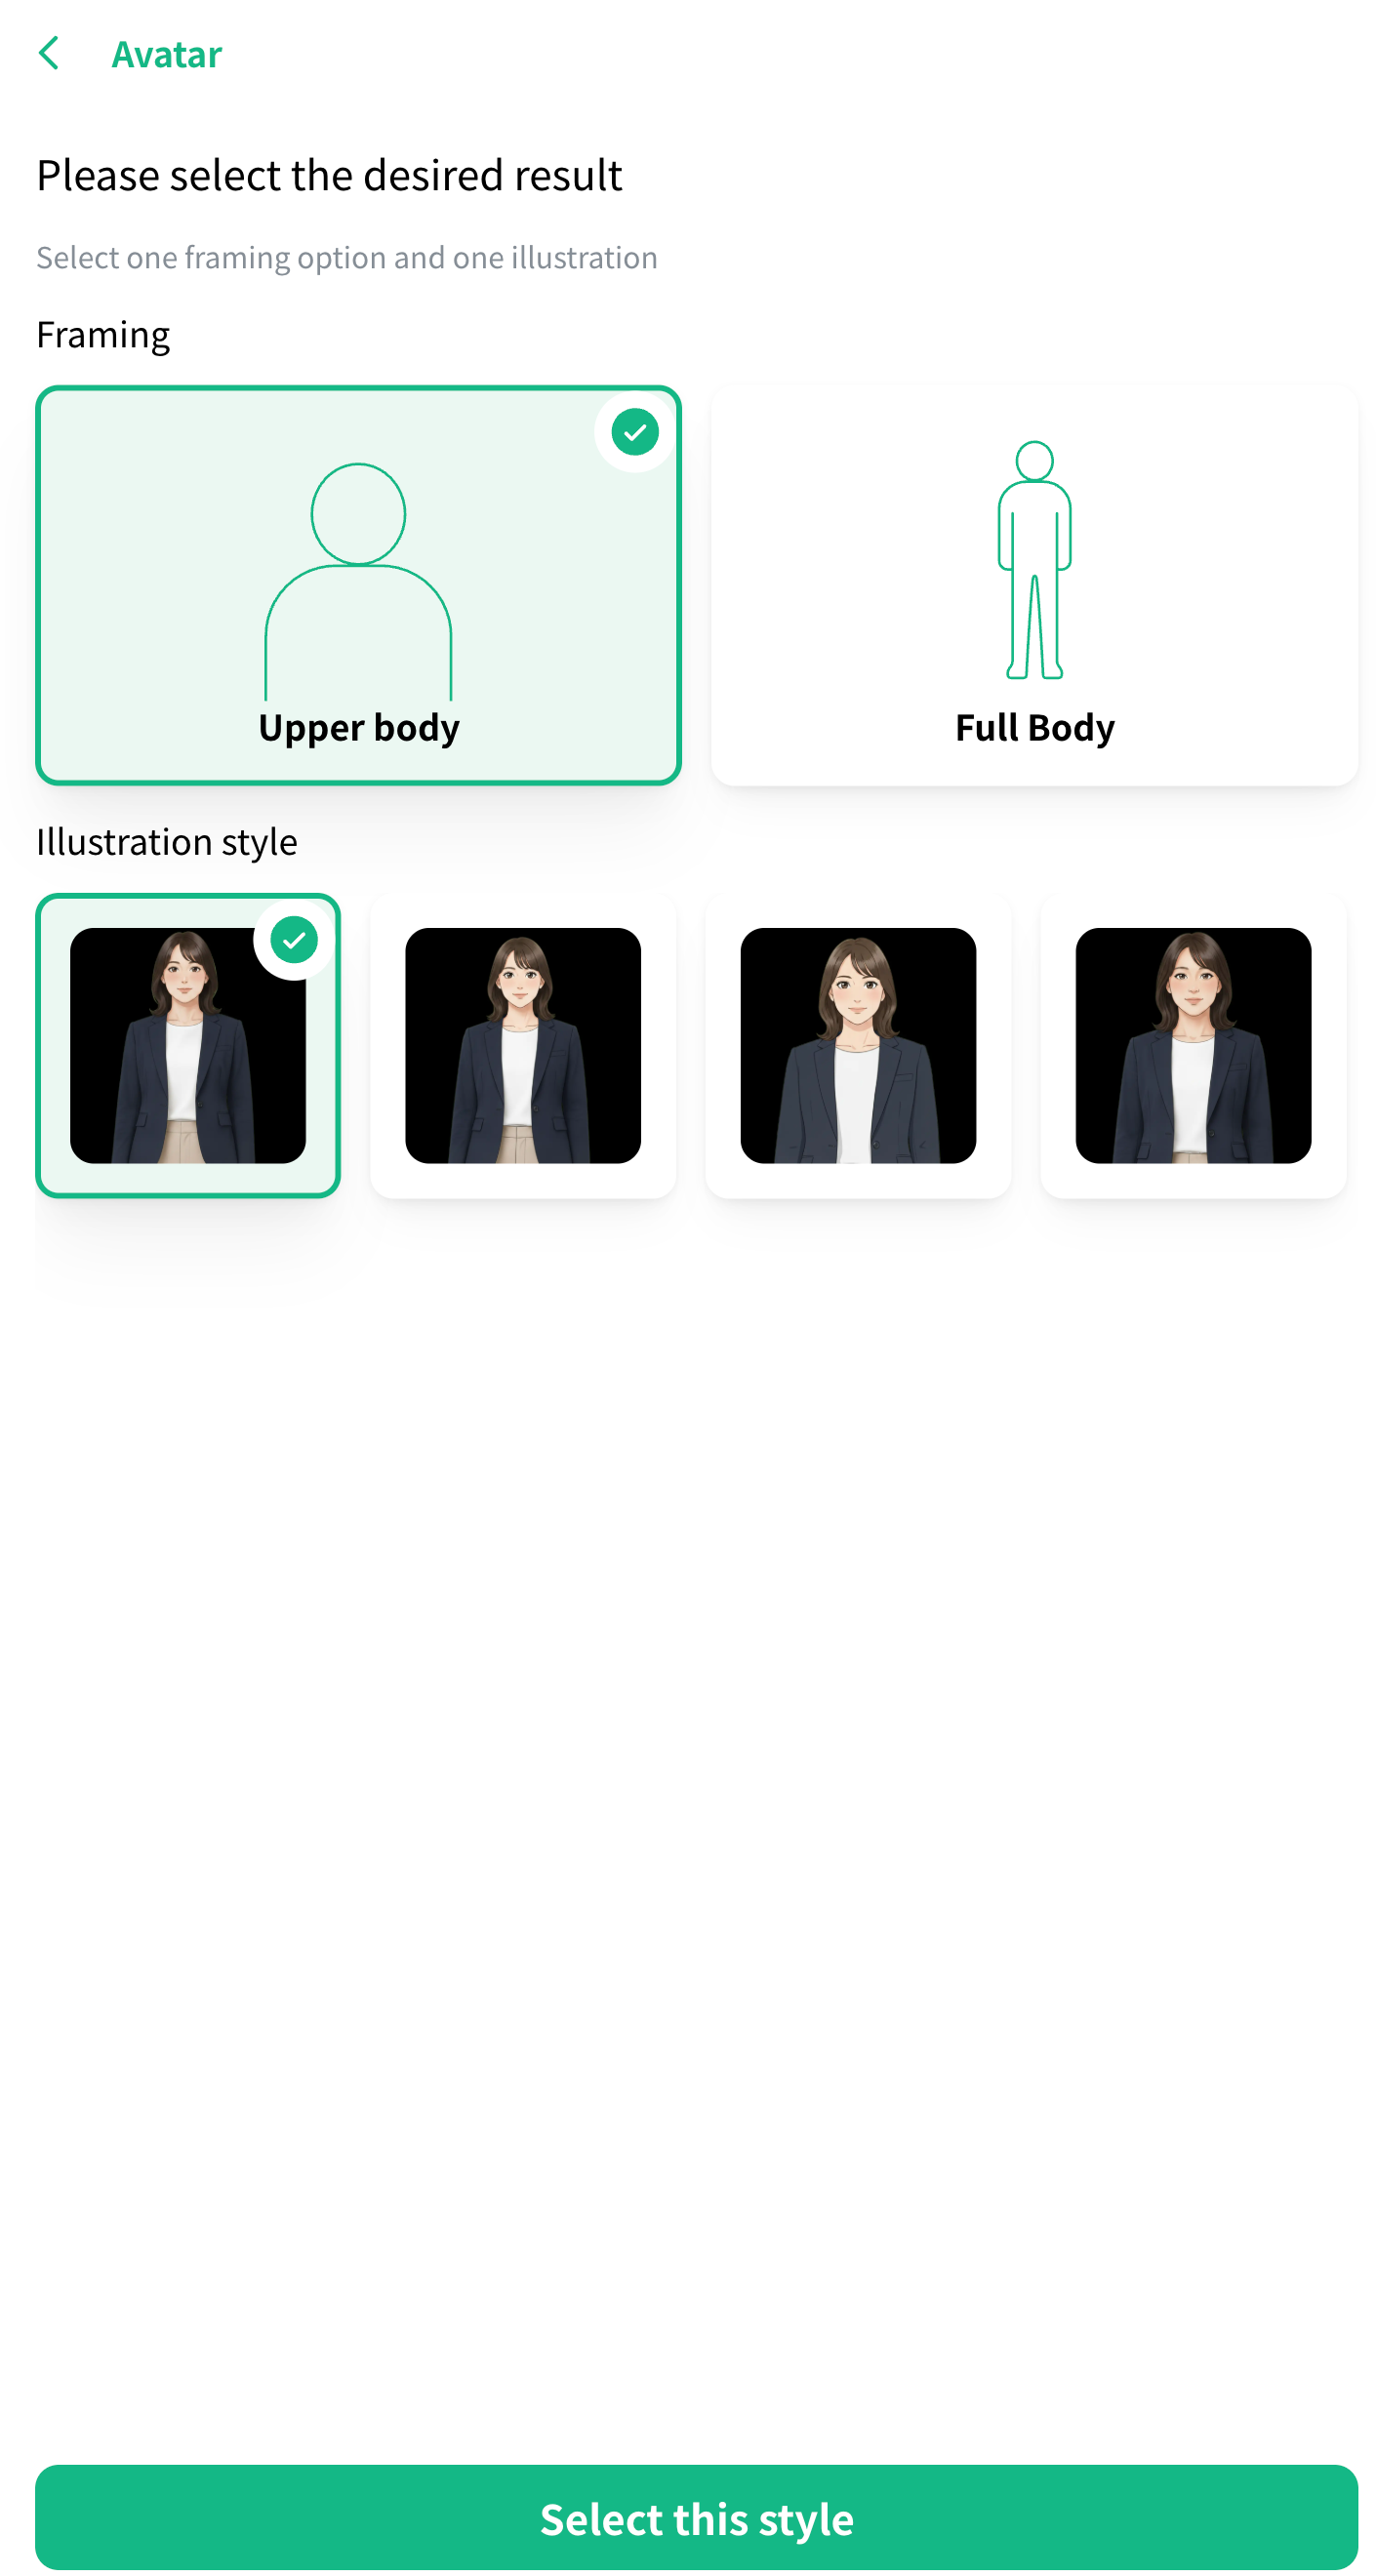
- Select the avatar styleUnder Framing, choose "Upper body" or "Full Body", then select one of the four illustration options.
- Select 1 to 6 emotions to give the avatar, then generate the avatar
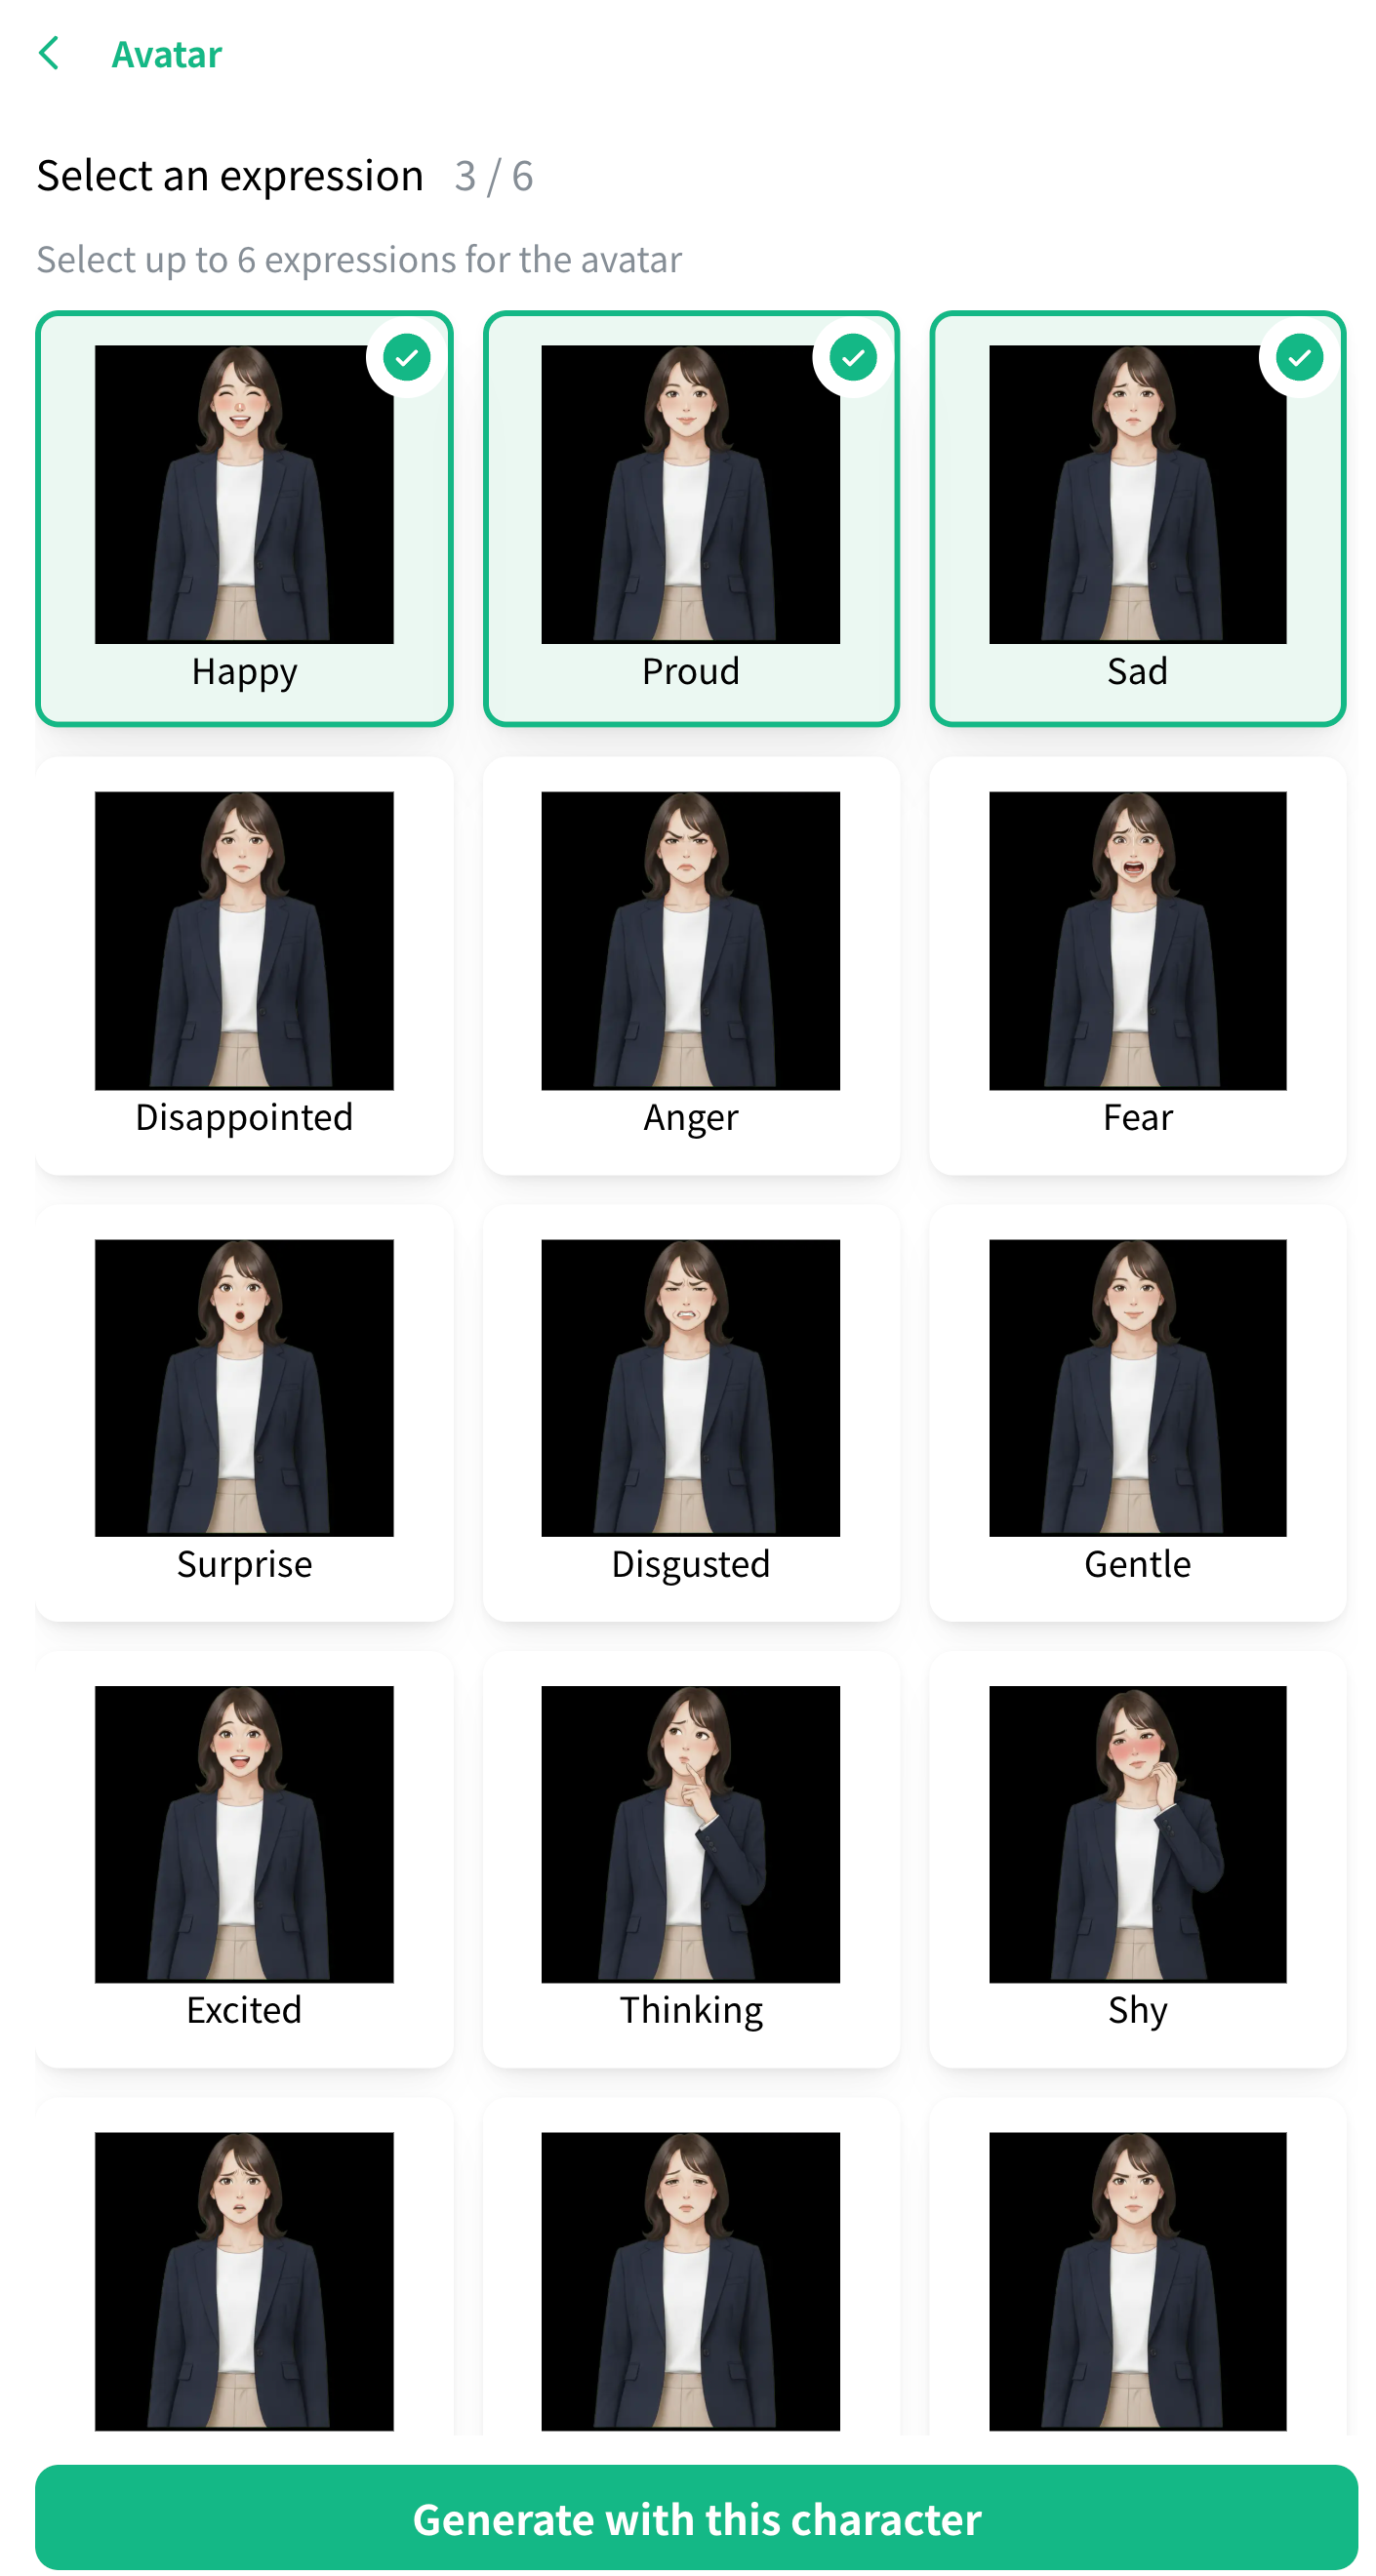
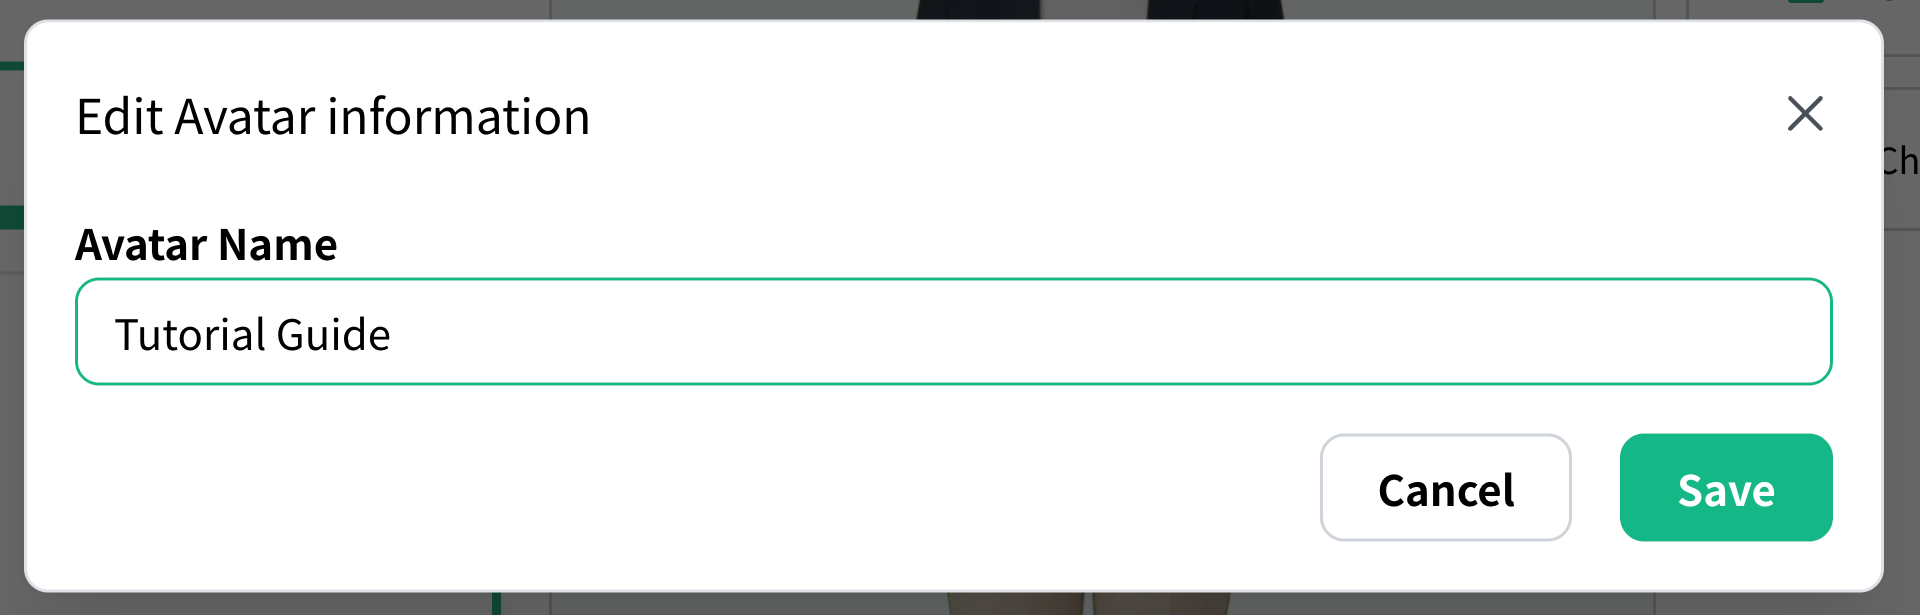
- Avatar creation completeTo rename an avatar, open “Edit” from its menu. This is separate from changing the name or voice settings of the whole character and saving it.
3. Steps for 2D animation
- Select “Create Character” from the sidebar
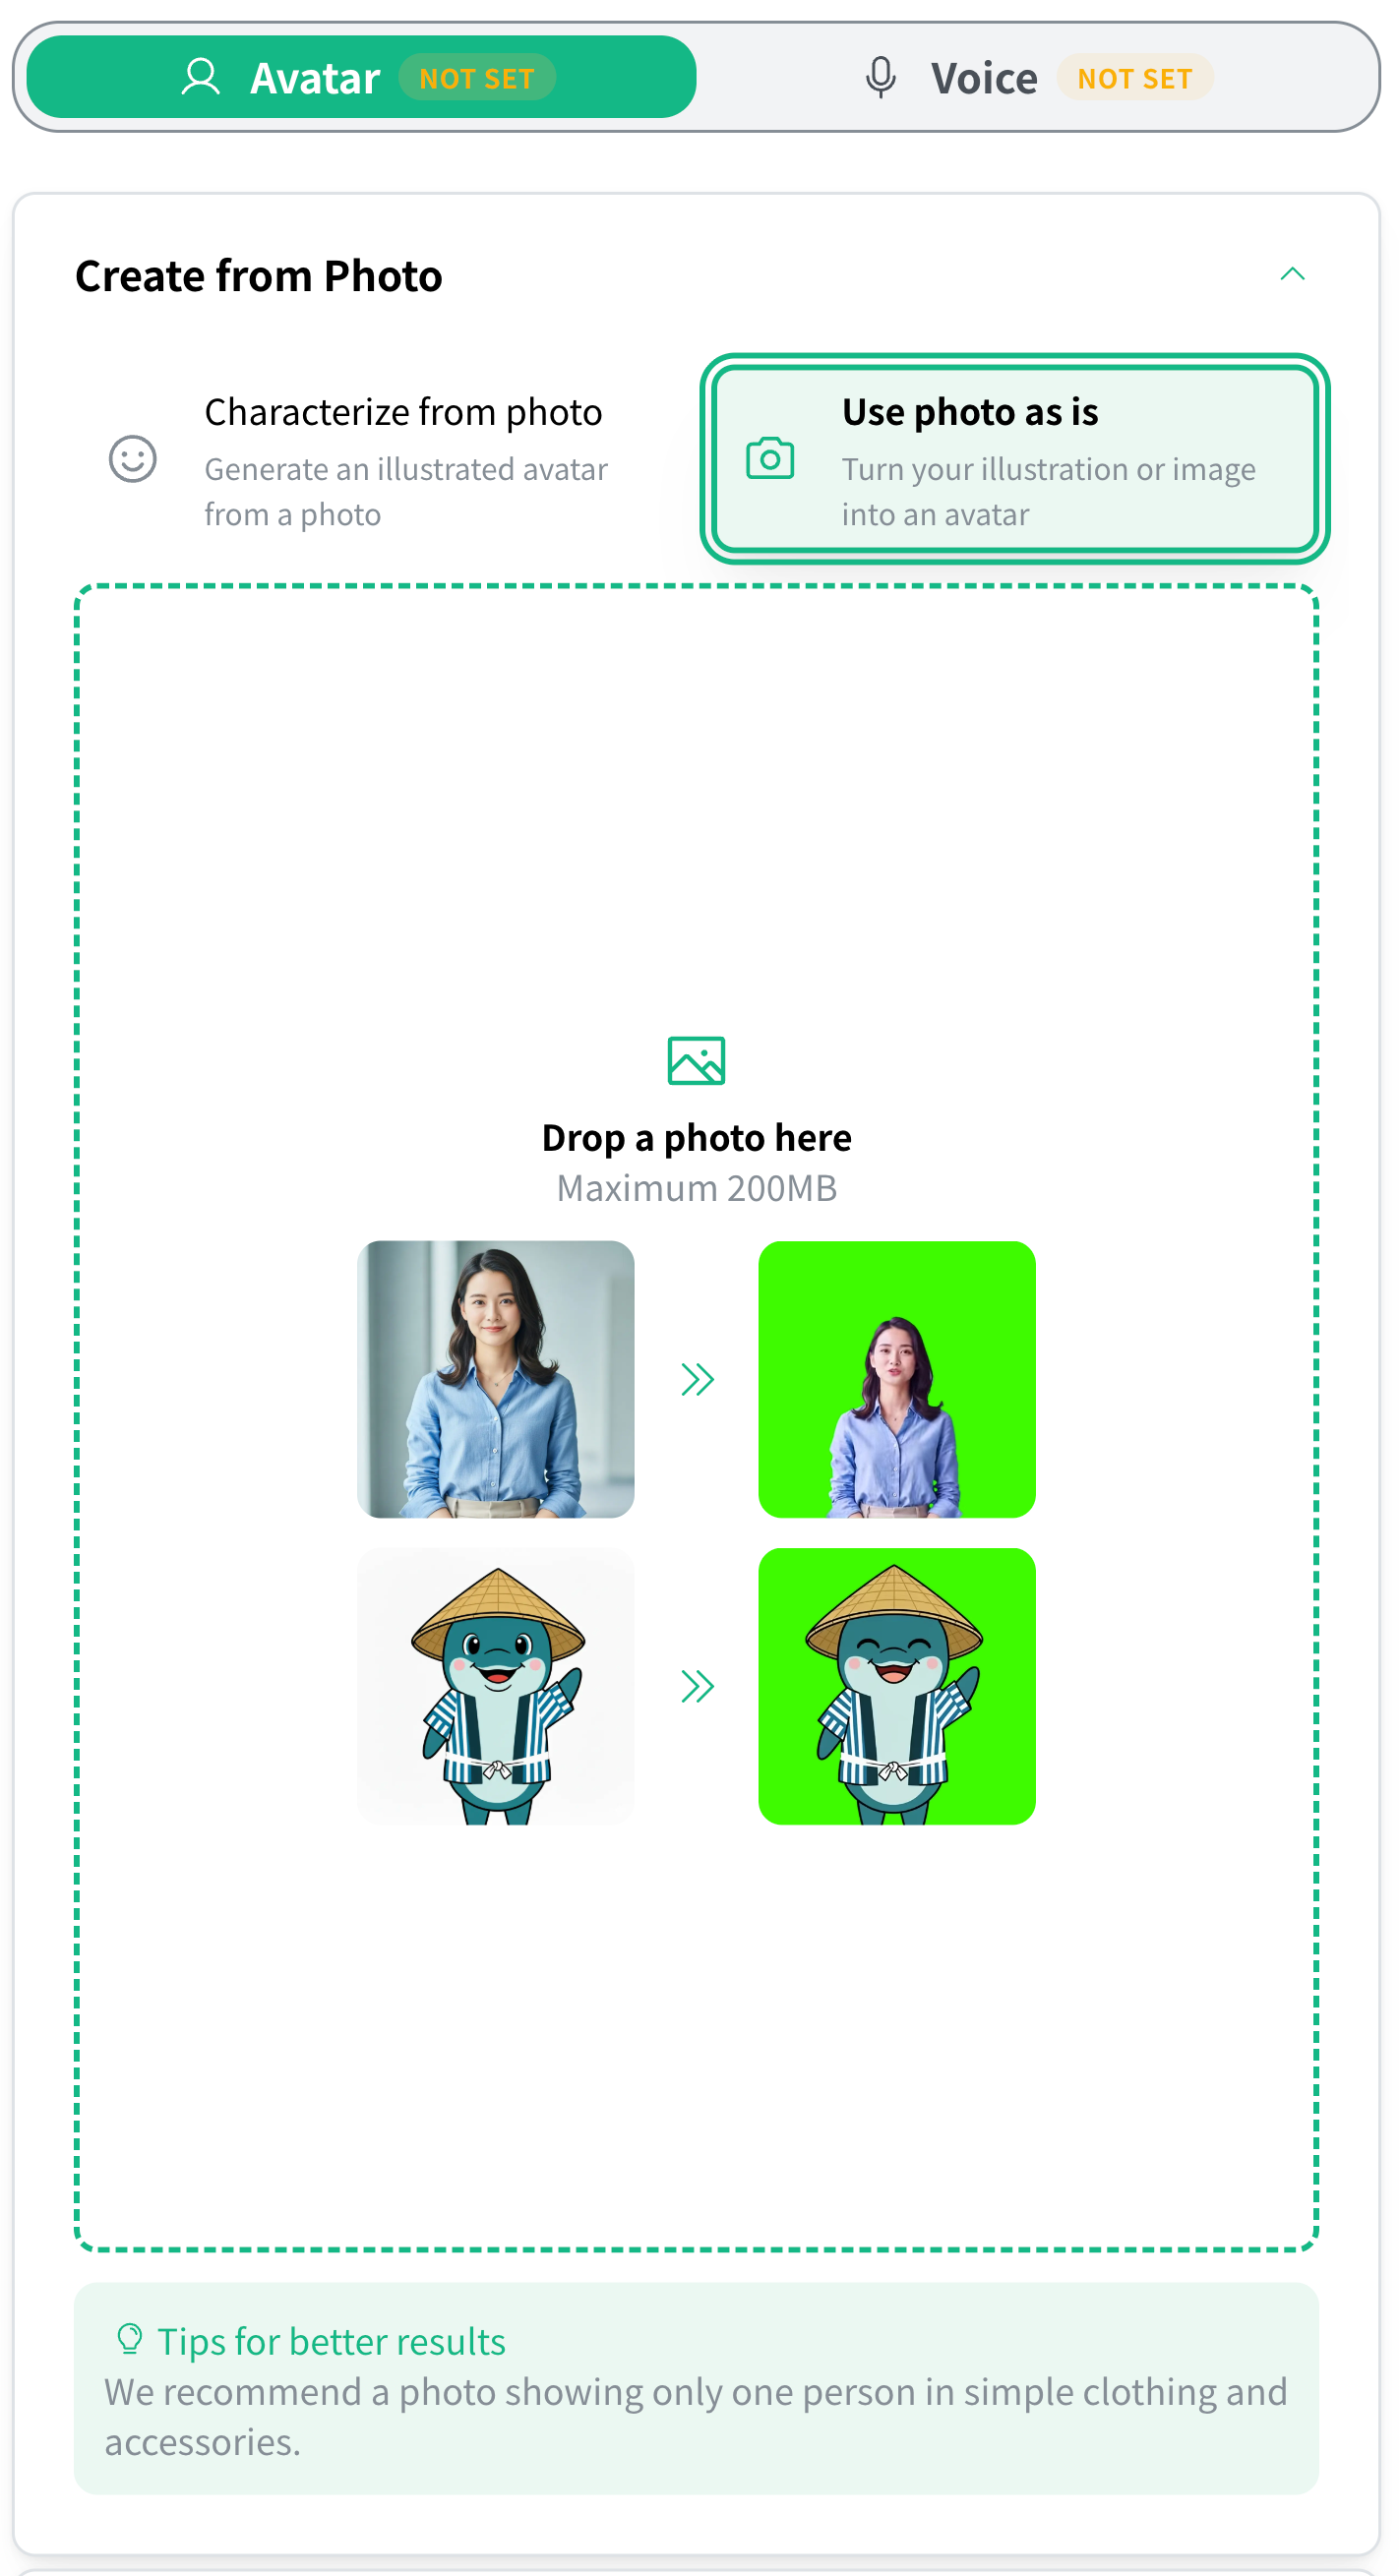
- Upload an image under “Create from Photo” → “Use photo as is”, then select “2D Animation” on the confirmation screen
- Select 1 to 6 emotions to give the avatar, then generate the avatar
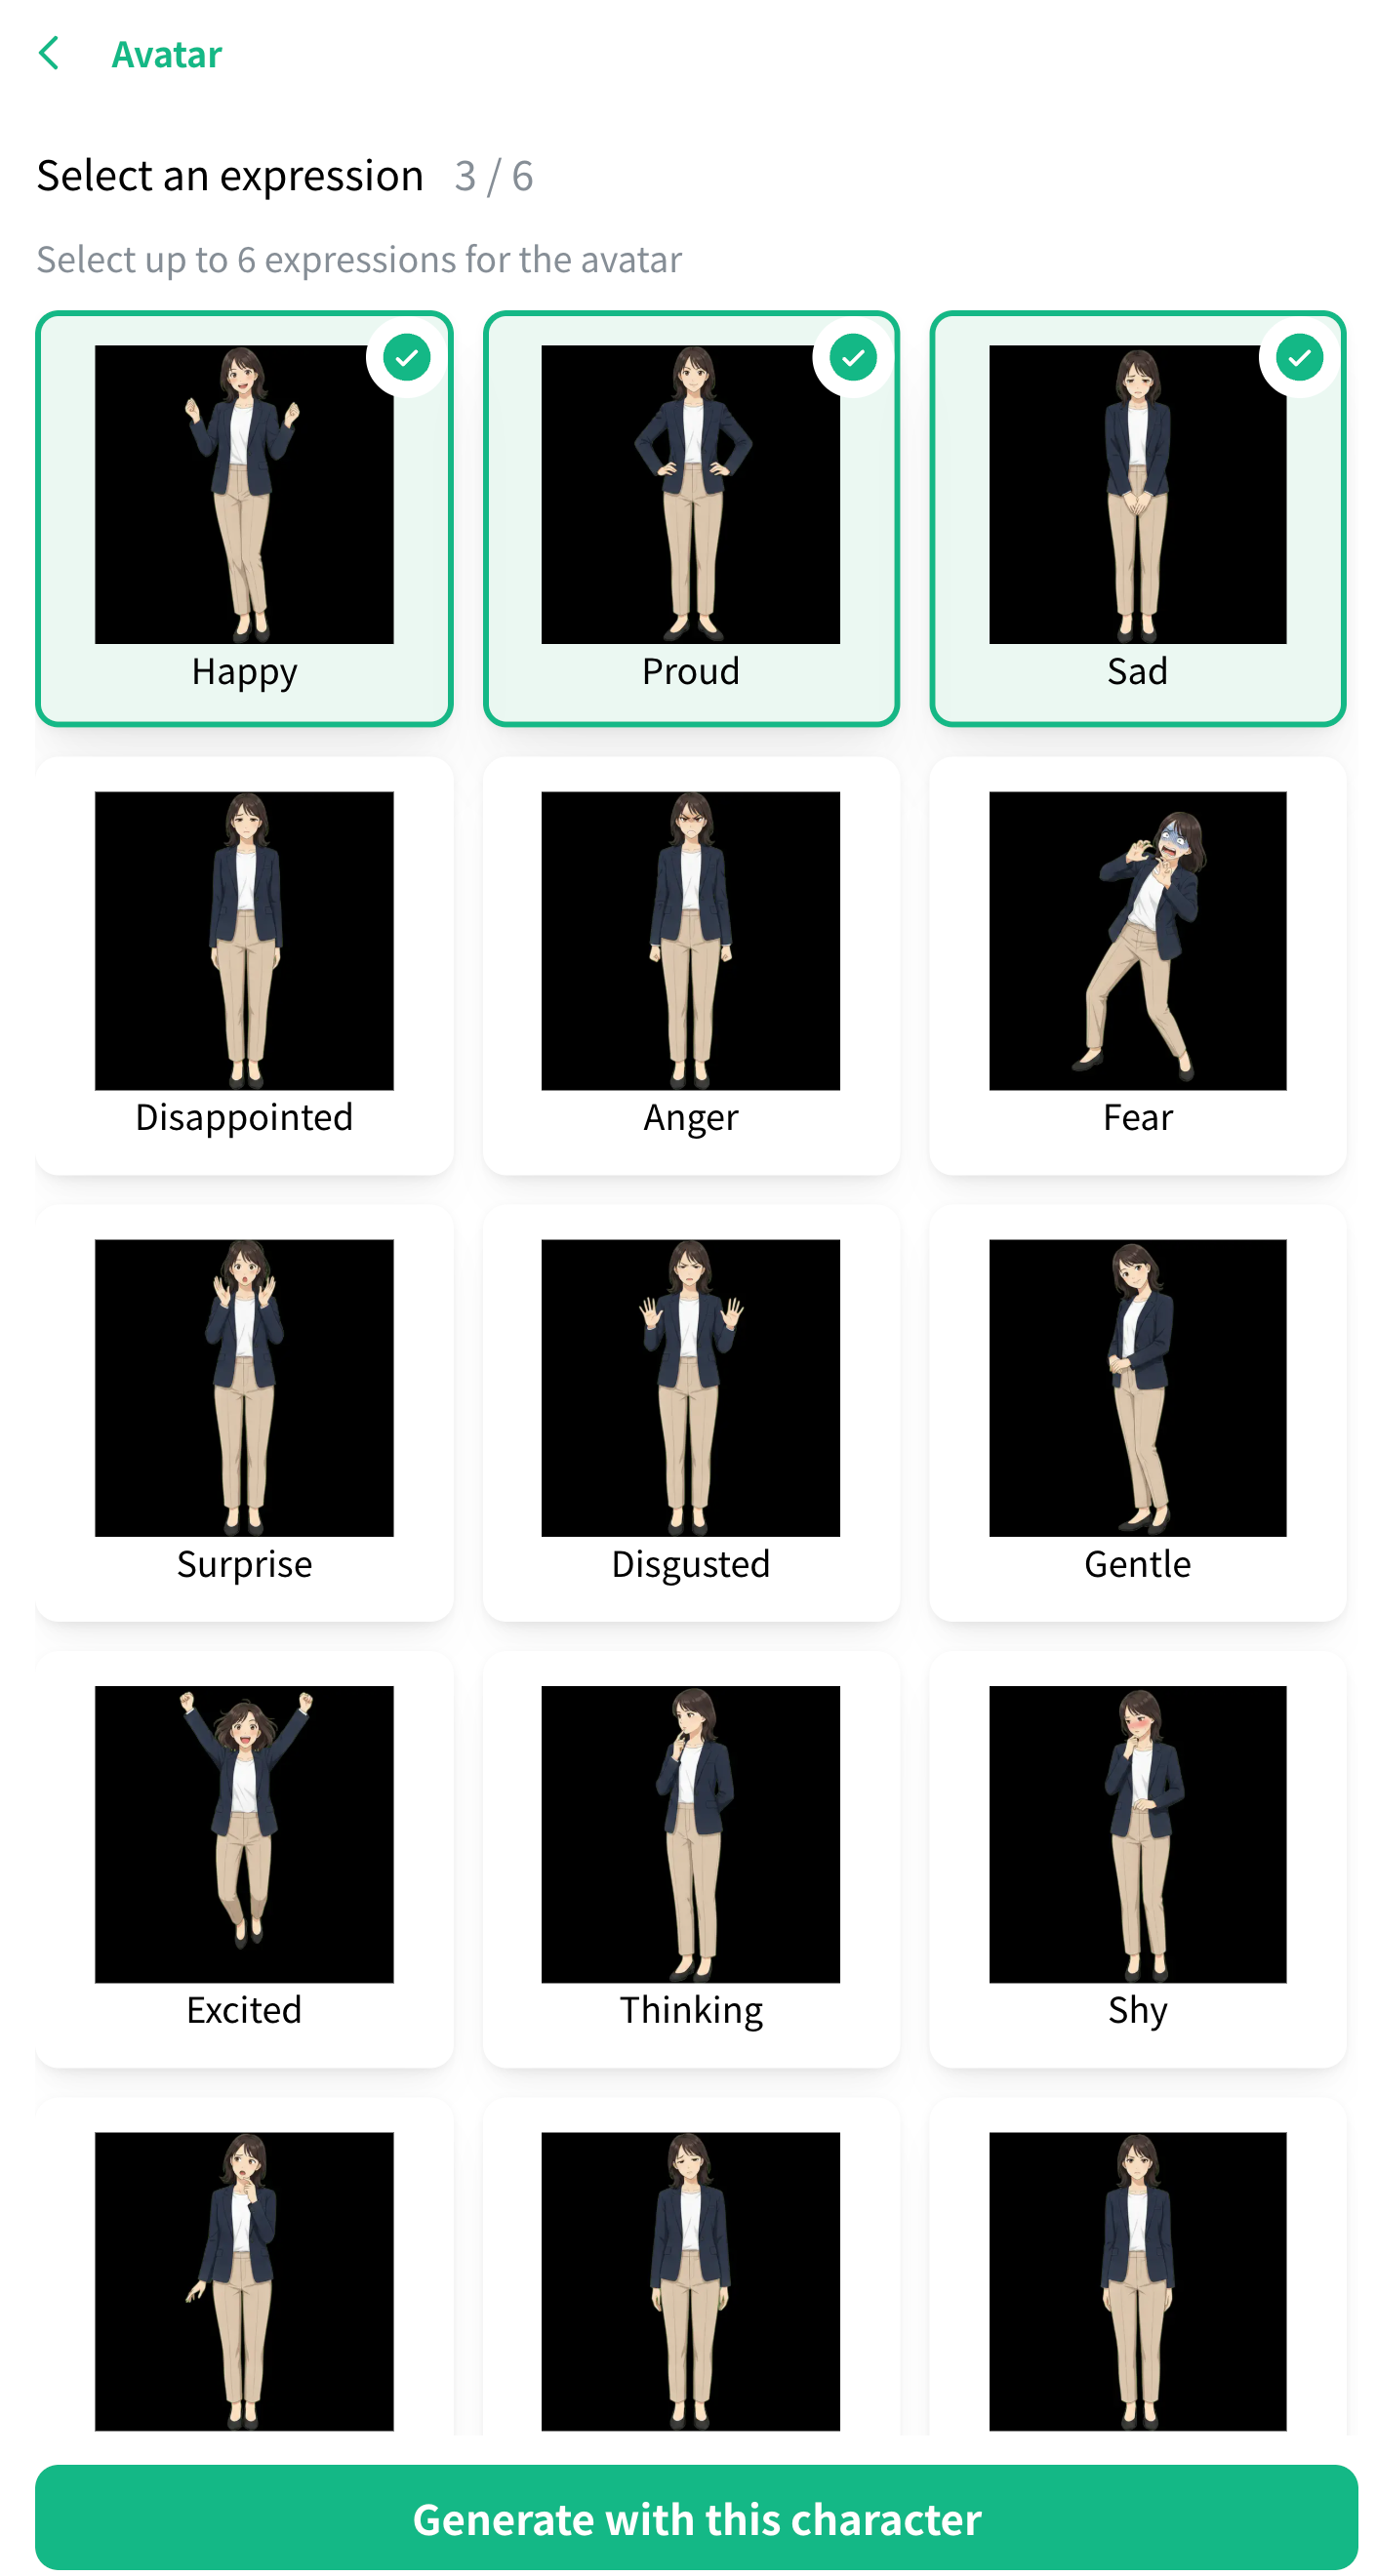
- Avatar creation complete
4. Steps for realistic animation
- Select “Create Character” from the sidebar
- Upload an image under “Create from Photo” → “Use photo as is”, then select “Real Animation” on the confirmation screen
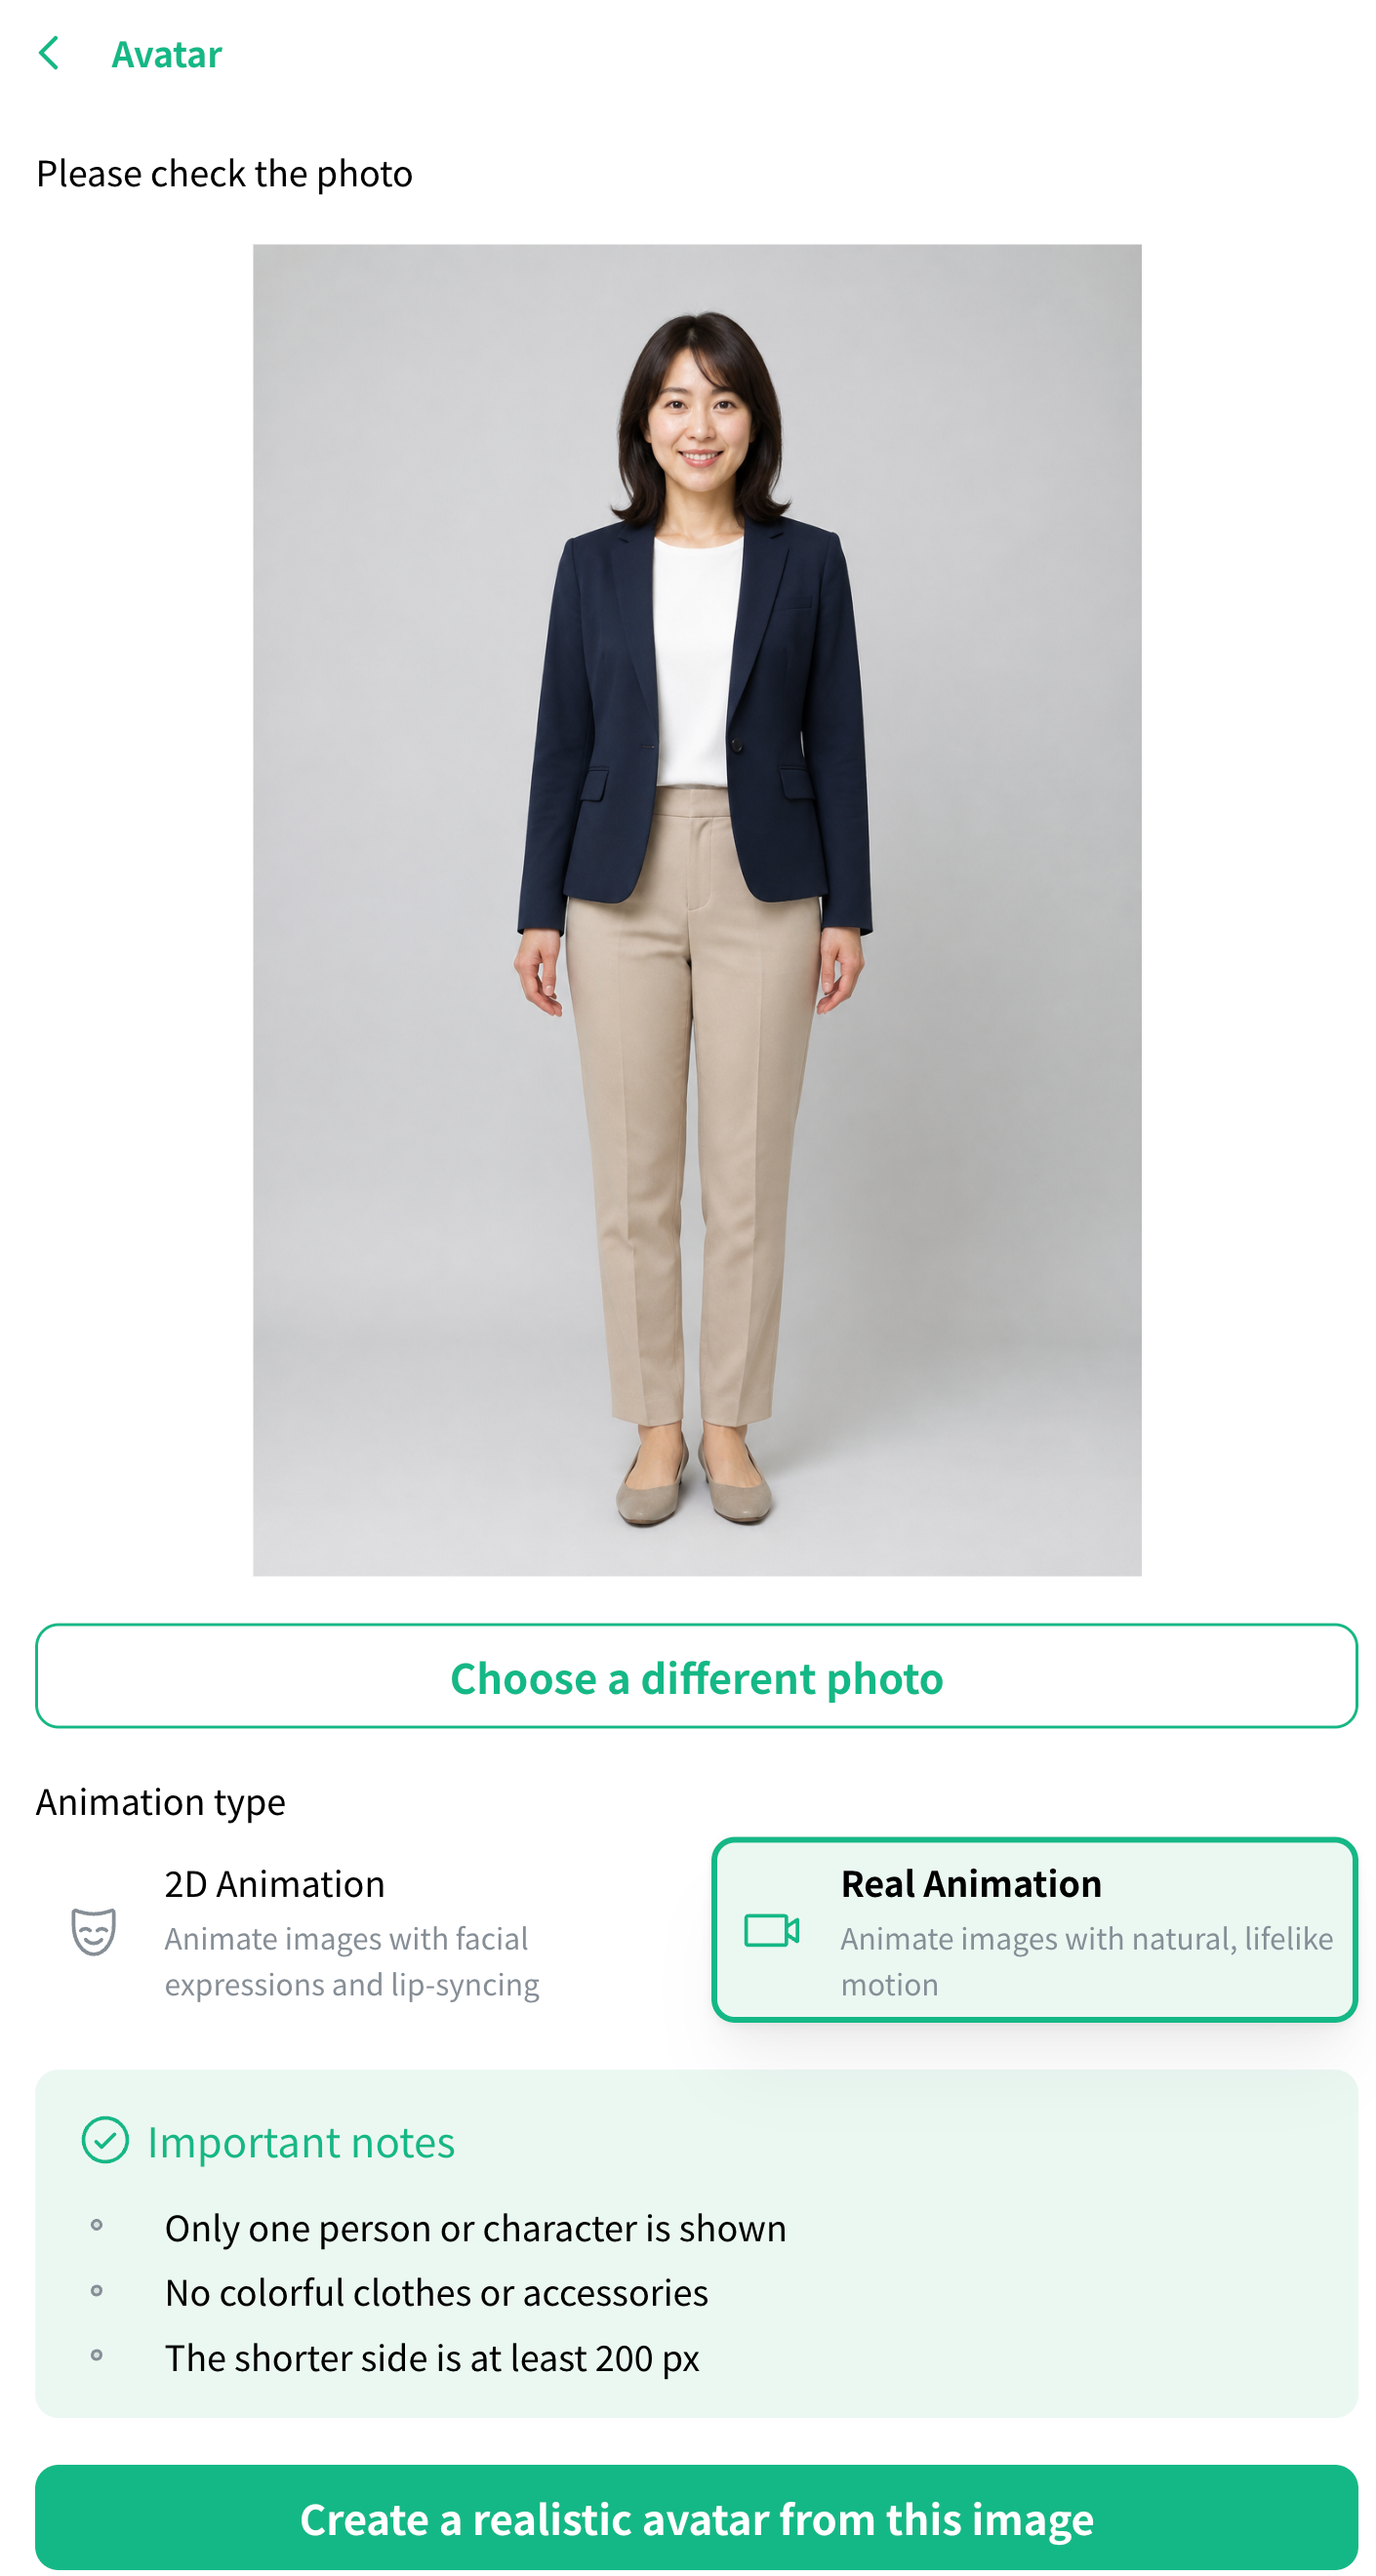
- Avatar creation complete
5. How to generate a video with the avatar you created
✓ Related How to generate videos using your own character (avatar and voice) Explains how to generate a video using the avatars and voices you created in NoLang.6. If avatar creation fails
If you run into any trouble with the avatar you created, please wait a while and try again. If it keeps failing, please contact us through the form below.